 English
 Русский
Managing proxies
My proxies lists all your services. Each one has its own page with three tabs: Connection, Statistics, and Settings. This page covers datacenter, ISP, and dedicated proxies; rotating plans have their own page.
Service list
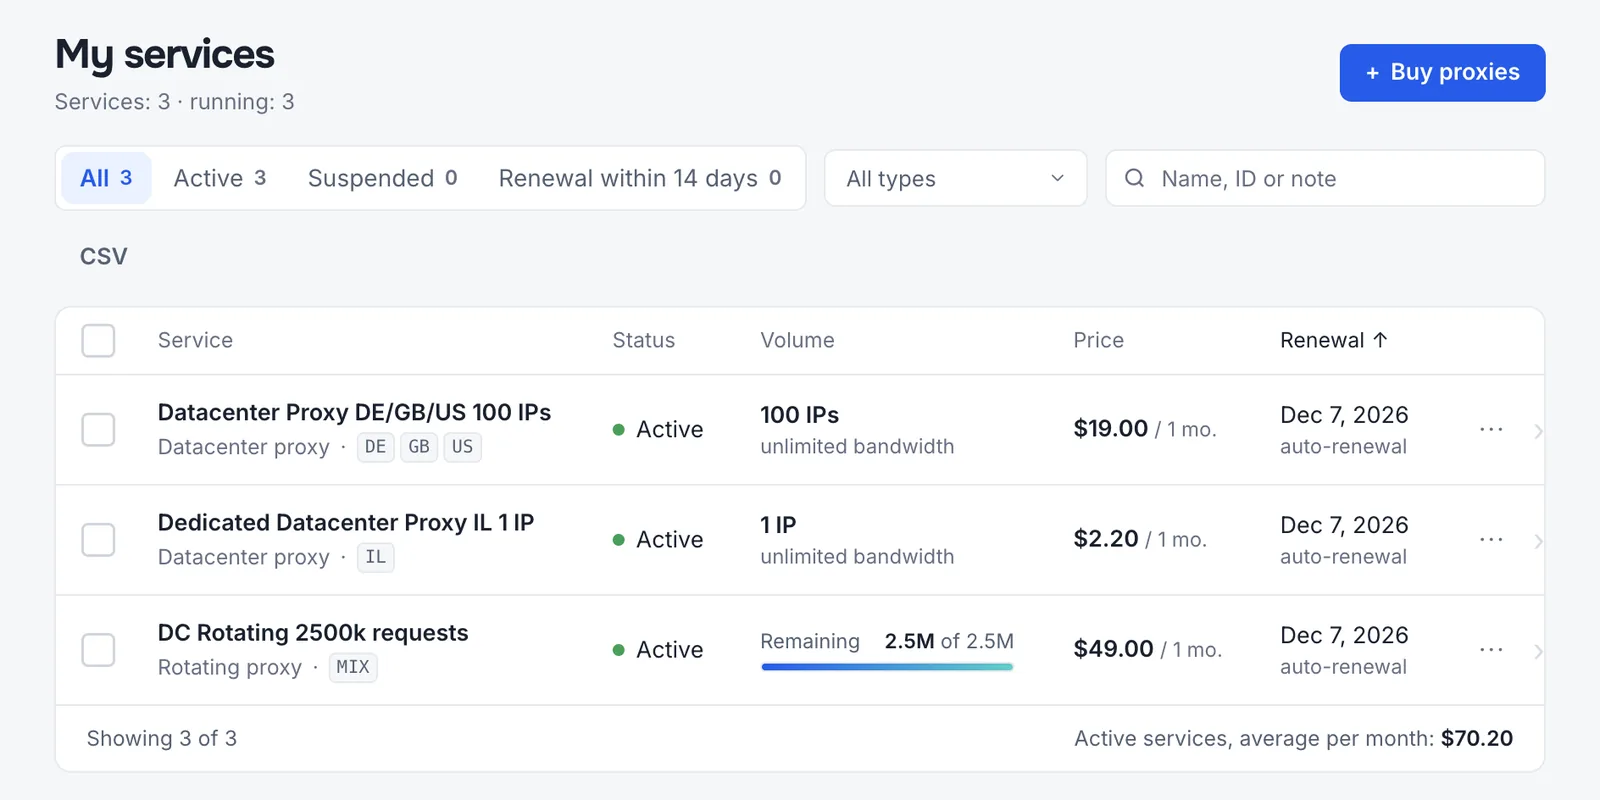
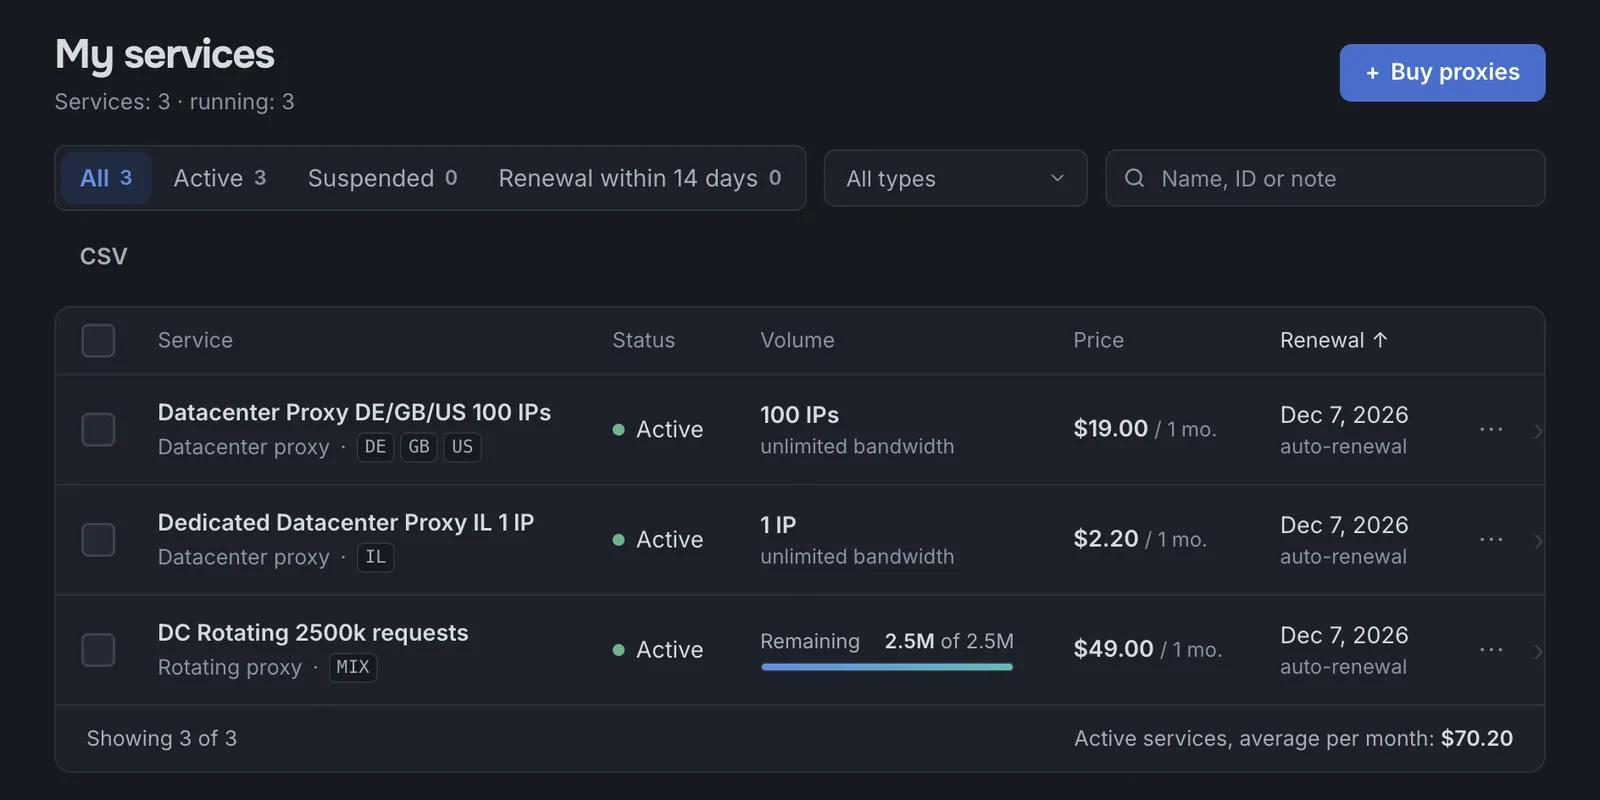
Open in Dashboard- Tabs filter by status: All, Active, Suspended, and Renewal within 14 days. Ended services get their own tab once you have any.
- Type filter, search, and CSV. Show only rotating or only datacenter services, search by name, ID, or note, and export the list.
- Columns show the status, volume, price, and renewal date. Click a column header to sort. The footer shows the average monthly cost of your active services.
- Row menu (⋯): open the service, renew it, turn auto-renewal off or on, rename it, copy its ID, or cancel it.
- Bulk actions. Select several services to renew them, change auto-renewal, or cancel them in one step.
Service page
The service header shows the essentials:
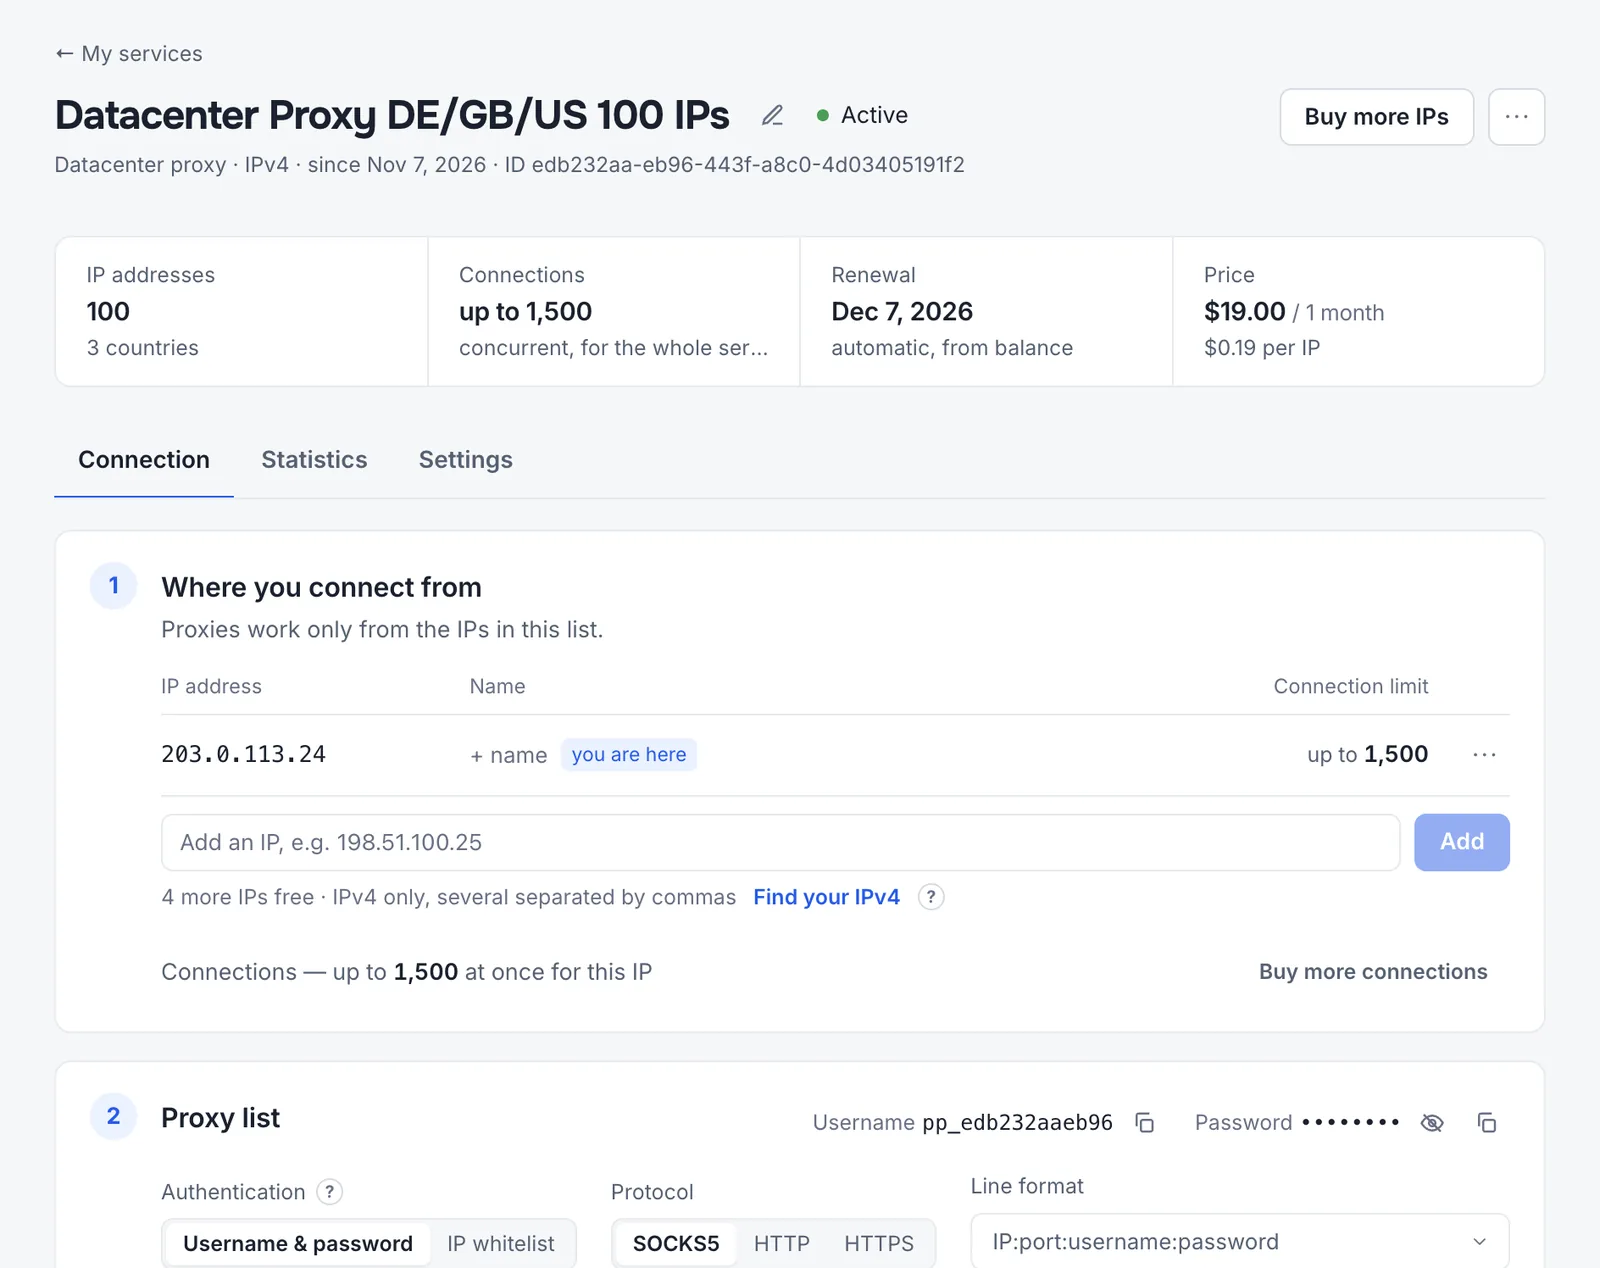
- Name. Click the pencil next to the name and enter anything that helps you tell services apart, such as “Marketplace scraping” or “Client A.” Only you can see the name, and the service list search finds it.
- Status, type, start date, and ID. You’ll need the ID when you contact support or work with the API.
- Buy more IPs adds IPs to this service, with the same username, password, and renewal date. See Adding IPs.
The ⋯ menu holds the other actions:
- Renew now opens the renewal card on the Settings tab, where you choose the term.
- Refresh IPs starts an IP refresh for all or selected IPs.
- Service charges in the wallet opens your transaction history already filtered to this service: the purchase, renewals, and add-ons.
- Cancel service… opens the cancellation card on the Settings tab. Cancellation can’t be undone: every IP in the service stops working right away.
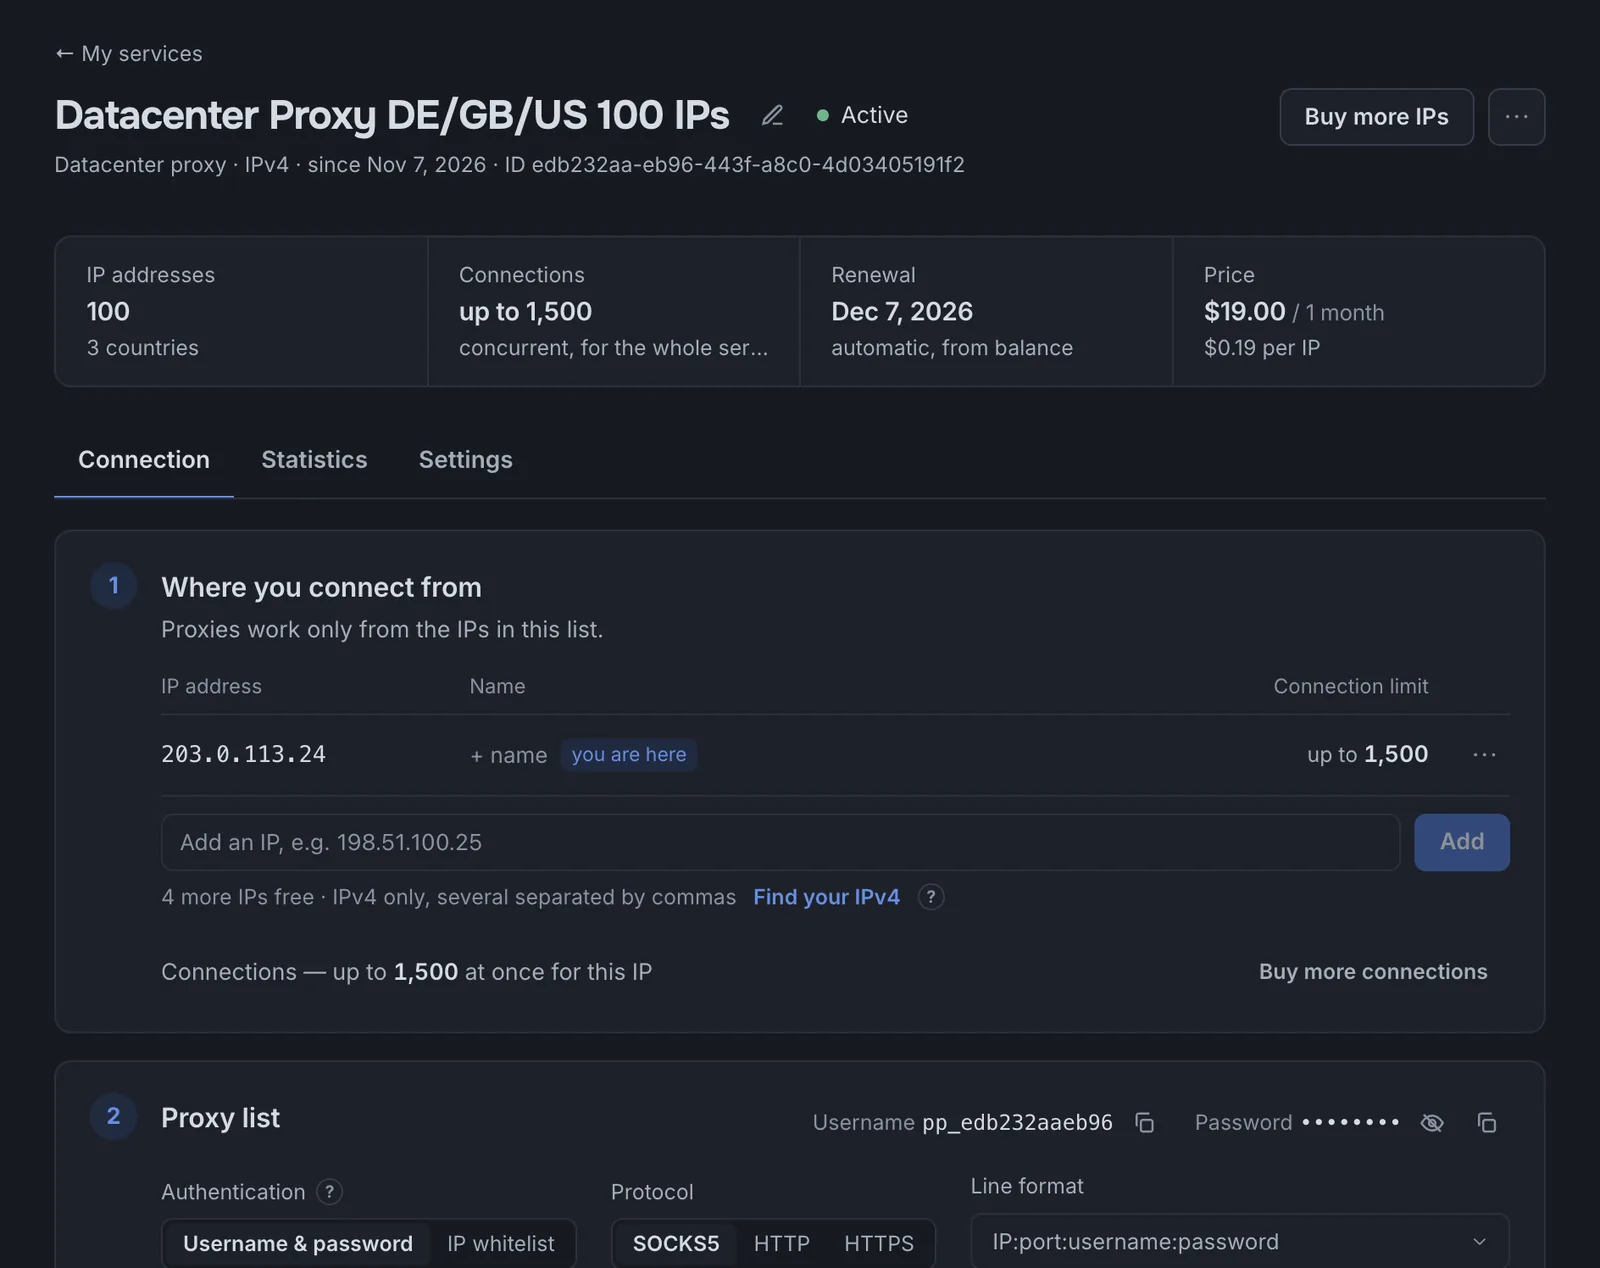
Below the header, four figures summarize the service: the number of IPs and countries, the concurrent connection limit, the renewal date and method, and the price per IP. The Connection tab walks you through setup in three steps.
Step 1. Where you connect from (IP whitelisting)
Proxies accept connections only from IPs on this list. The IP you opened the Dashboard from is marked you are here, and the page warns you if it isn’t on the list.
How strictly the source IP is checked depends on the authentication method. With IP whitelisting (no password), only the exact IPs on the list can connect. With username/password authentication, connections are accepted from the whole /21 subnet around each whitelisted IP: 2,048 neighboring addresses. That keeps your proxies working if your ISP assigns you a dynamic IP within the same network. See the FAQ: I have a dynamic IP — can I use your proxies?
- Add IPs. Enter one or more IPv4 addresses separated by commas. If your software runs on a remote server, add the server’s IP: Find your IPv4 shows how to look it up there.
- Labels. Give each IP a label, such as “Office” or “Server 2.” You can change it at any time: click the label and type a new one, or choose Rename in the ⋯ menu. The same menu lets you copy or remove the IP. The last IP can’t be removed.
- Five IPs are included. Each extra whitelist slot costs $1 per month (see Add-ons).
Splitting the connection limit
The service’s concurrent connection limit is shared between all whitelisted IPs. The bar under the list shows how it’s split right now. There are two modes:
- Evenly (default): every IP gets an equal share. The split is recalculated each time you add or remove an IP.
- Manually: enter a limit for each IP, or click max to give it as much as possible. One IP is marked remainder and gets whatever is left. To choose which IP that is, use Give the remainder to this IP in its ⋯ menu.
Manual limits apply only after you click Save. Until then the panel shows Not saved, and Cancel restores the previous split. Selecting Manually on its own doesn’t change anything.
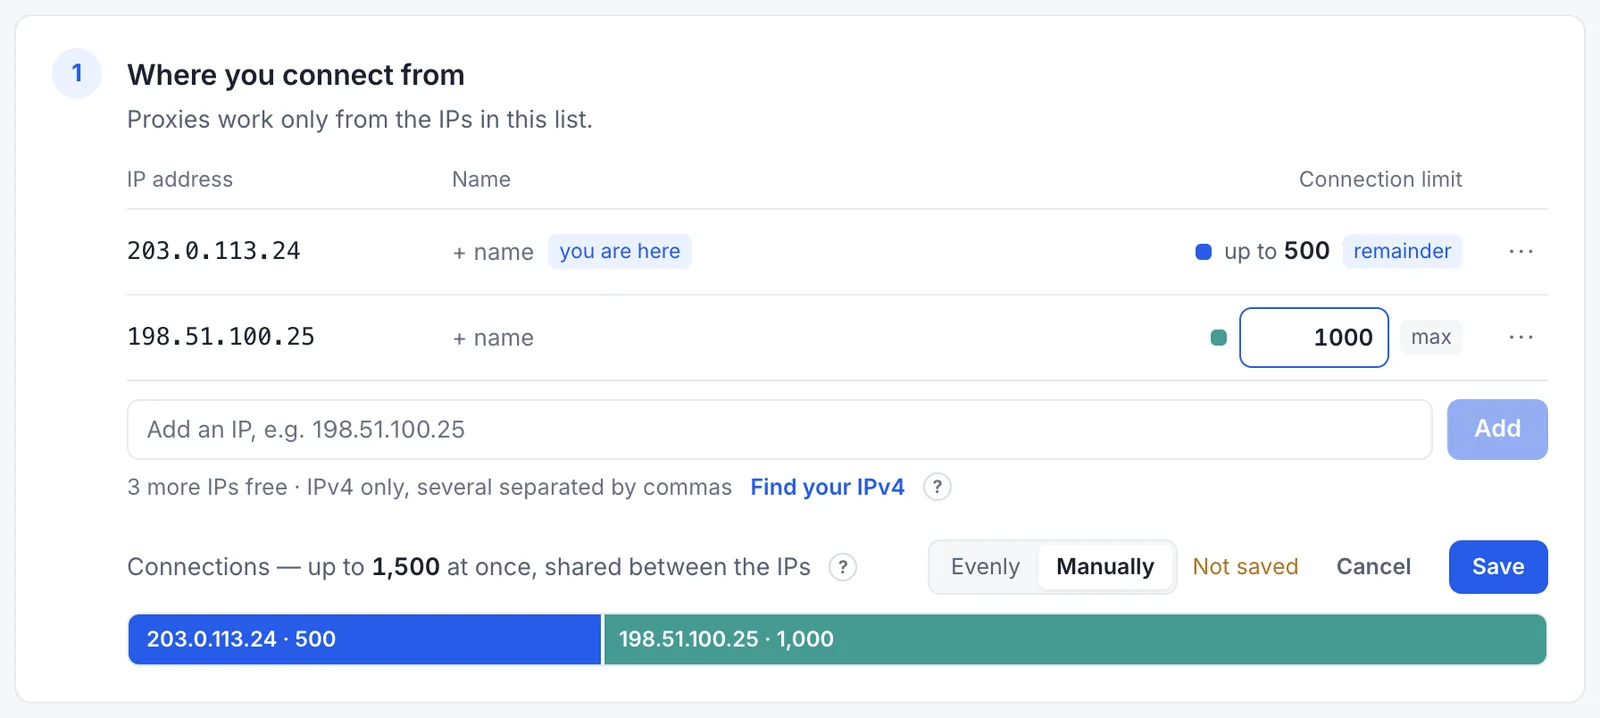
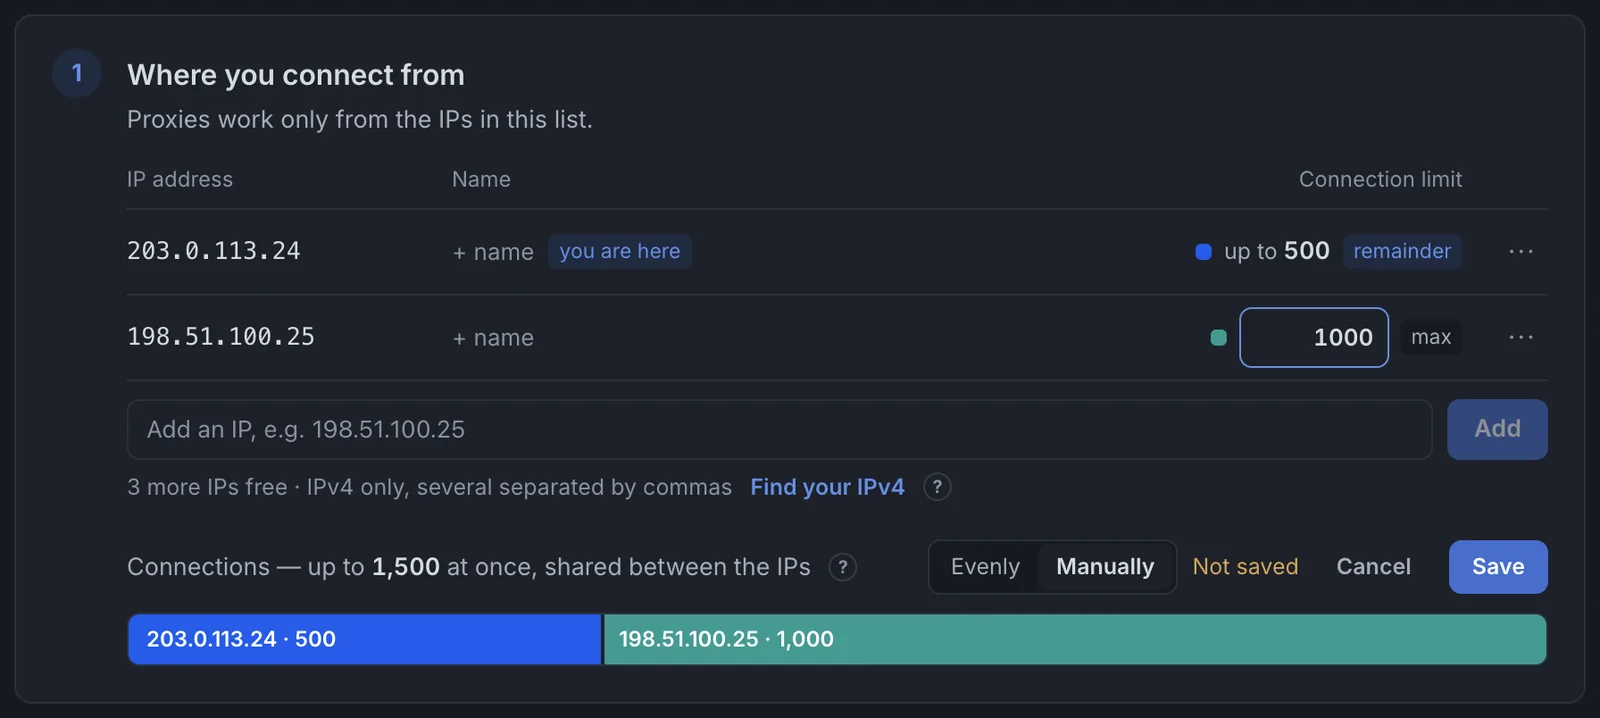
If the limit is too low for your workload, raise it with Buy more connections. Choose the amount with the presets, the slider, or the input field (1 to 10,000). Extra connections cost $0.03 each, or $30 per 1,000 per month.
Extra connections are prorated for the days left in the current billing period, so you’re charged only for that part now. The service price is recalculated from then on, and the next renewal includes the connections you bought. The dialog shows the monthly price, the amount charged now, and your balance before and after the purchase.
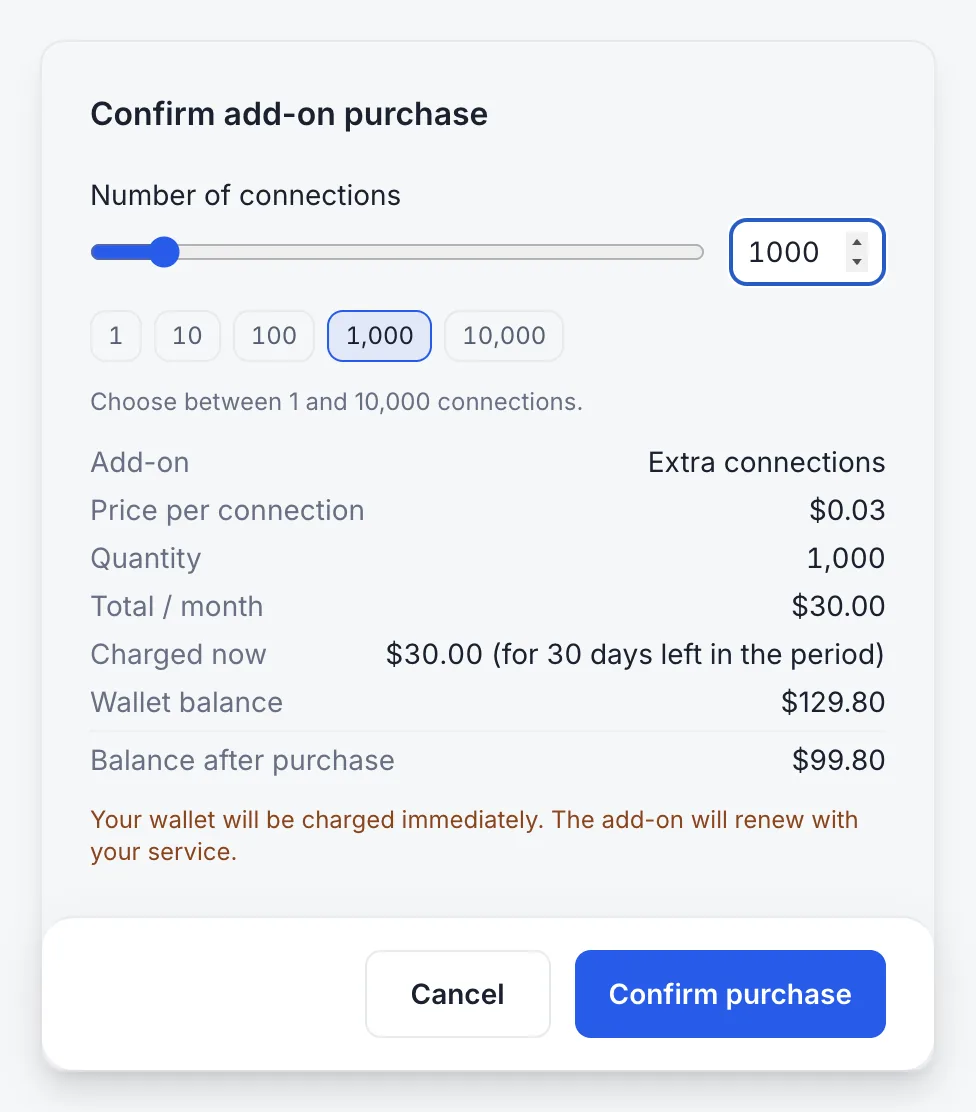
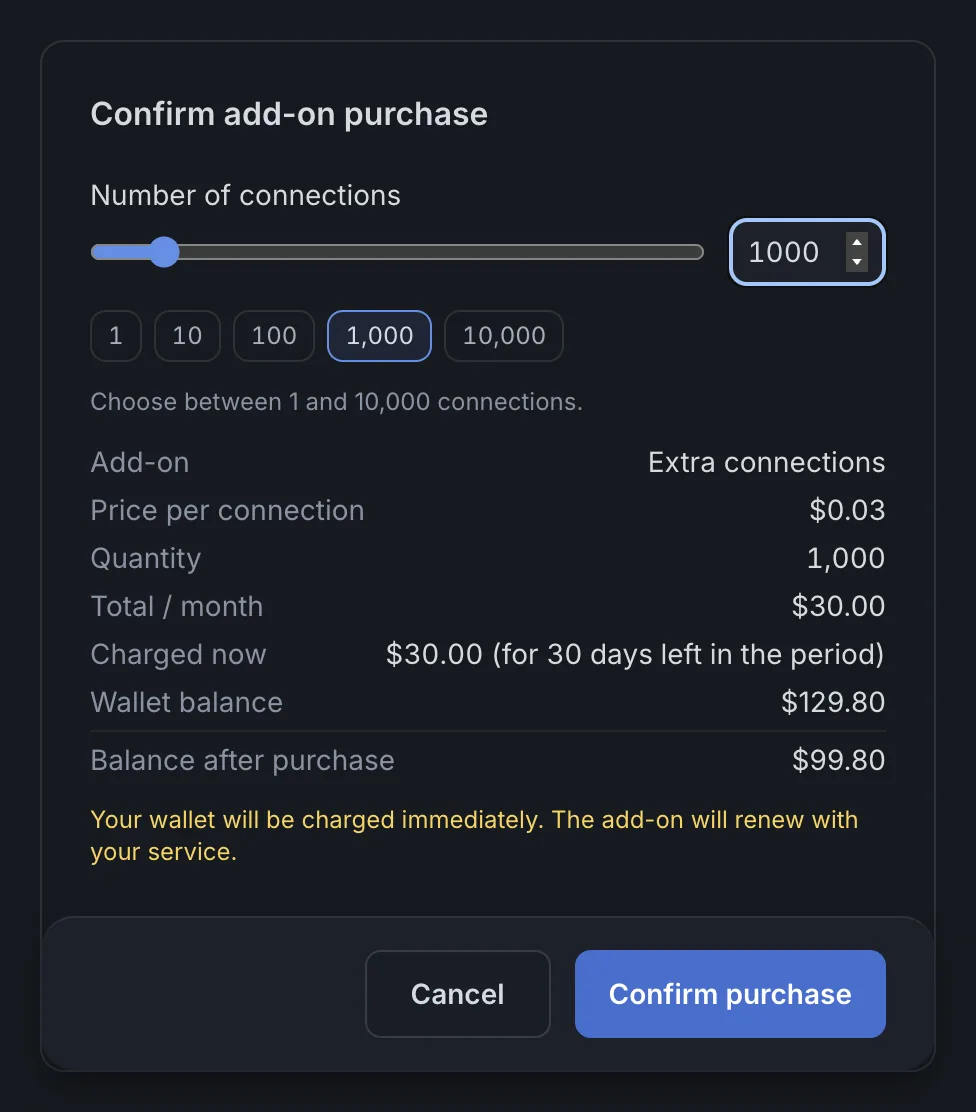
The wallet is charged as soon as you click Confirm purchase. Extra connections renew together with the service.
Step 2. Proxy list
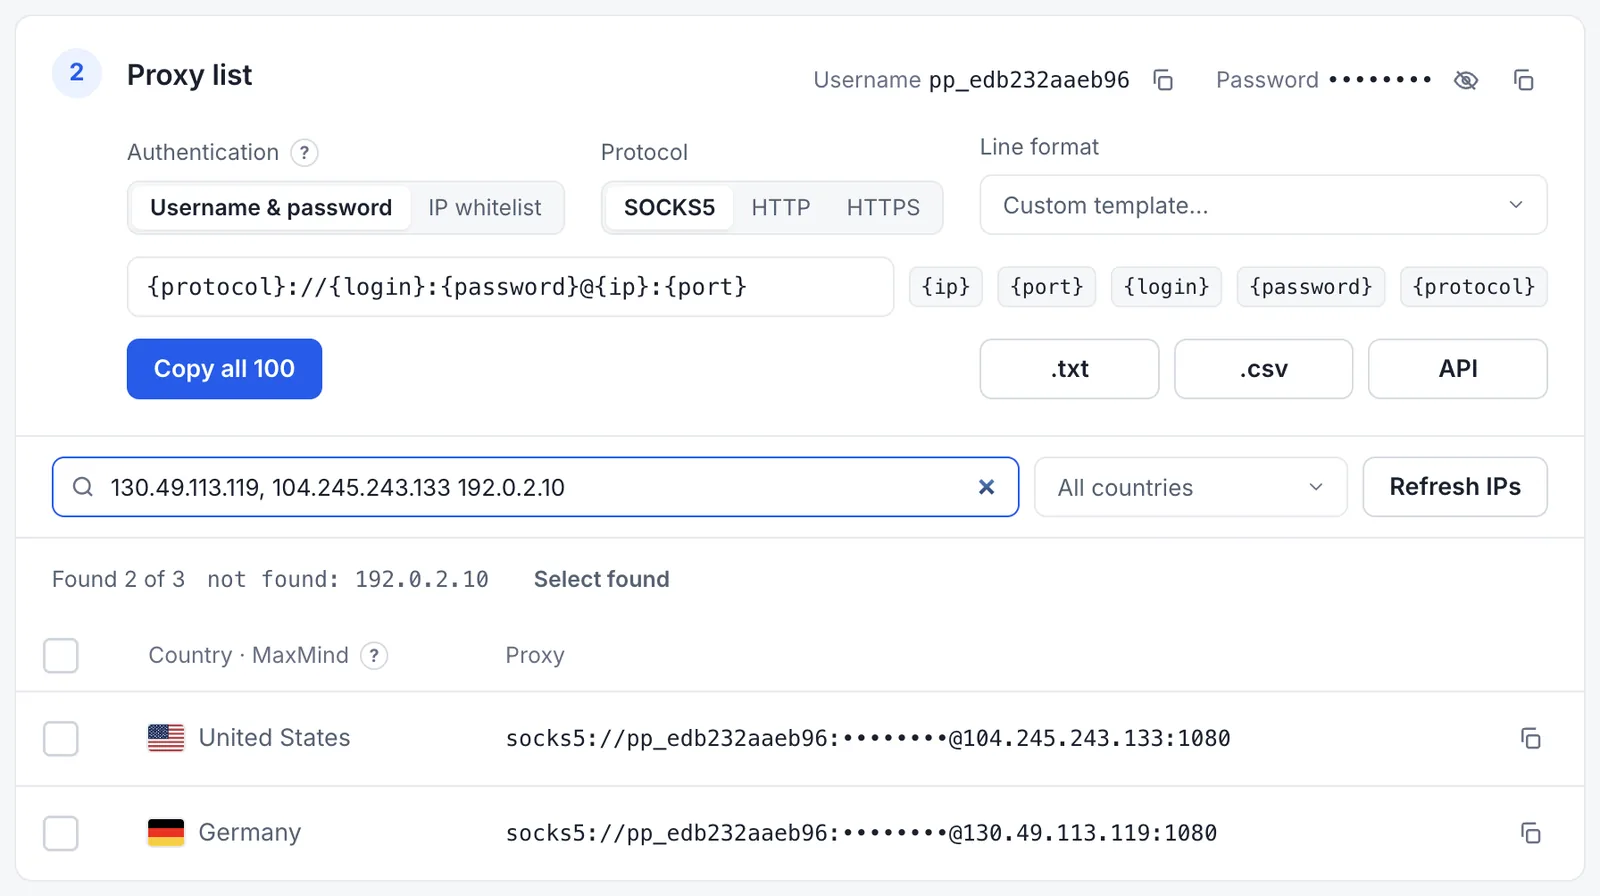
Configure the list for your software, then copy or download it:
| Setting | Options |
|---|---|
| Authentication | Username & password works from any address in the /21 subnet around each whitelisted IP (2,048 addresses; for 85.249.3.145, that’s 85.249.0.0–85.249.7.255). Use it if your IP changes within your ISP’s network. IP whitelist works only from the exact whitelisted IPs, with no username or password. With IP whitelisting, the protocol list also includes SOCKS4. |
| Protocol | SOCKS5, HTTP, or HTTPS. Each protocol has its own port. HTTPS with IP whitelisting also has a backup port, 993: use it instead of 8444 if your network blocks the main port. |
| Line format | IP:port:username:password, username:password@IP:port, protocol://username:password@IP:port, or Custom template…. |
Custom line template
If your software expects a format that isn’t in the list, choose Custom template… and type the line the way you need it. Click the placeholders next to the field to insert them: {ip}, {port}, {login}, {password}, and {protocol}. Any field order and delimiter works, for example {ip};{port};{login};{password}. The table, Copy all, and the .txt and .csv downloads all use the template.
Finding IPs from a list
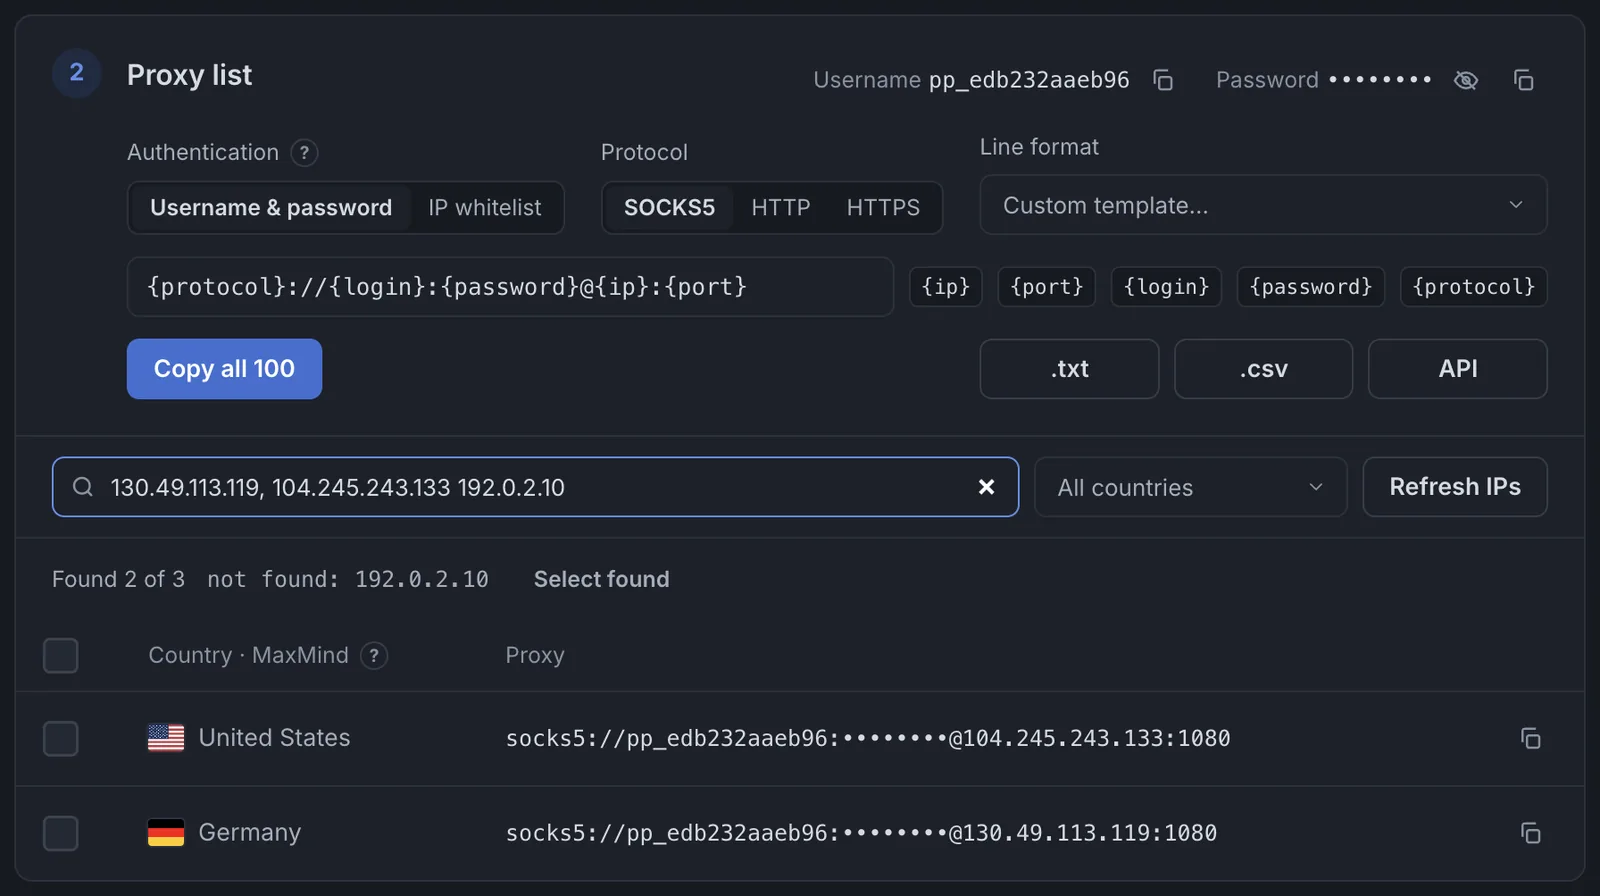
The search box accepts a single IP, a country, or a whole list of IPs pasted from your software’s log, separated by commas, spaces, or line breaks. The result line shows how many of them belong to this service and which ones don’t (Found 2 of 3 · not found: …). Select found checks all matches, so you can copy them or send them to IP refresh.
Proxy list by link
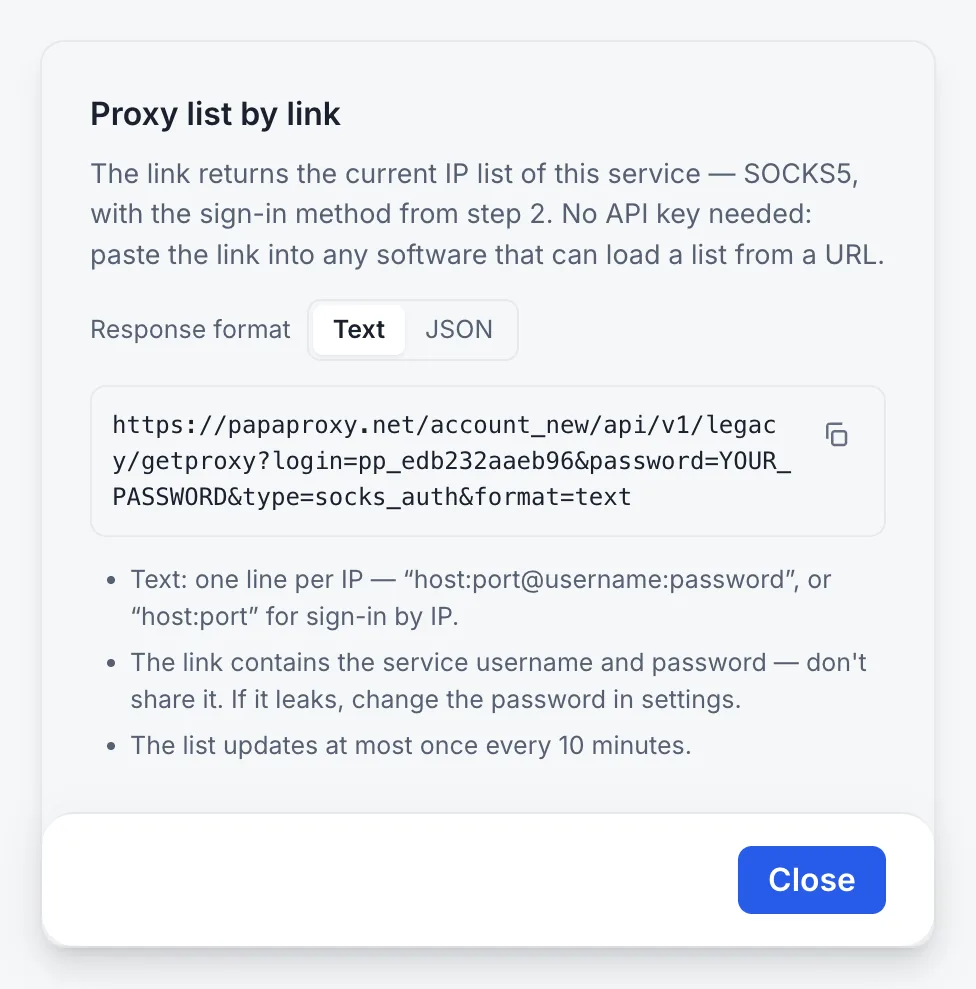
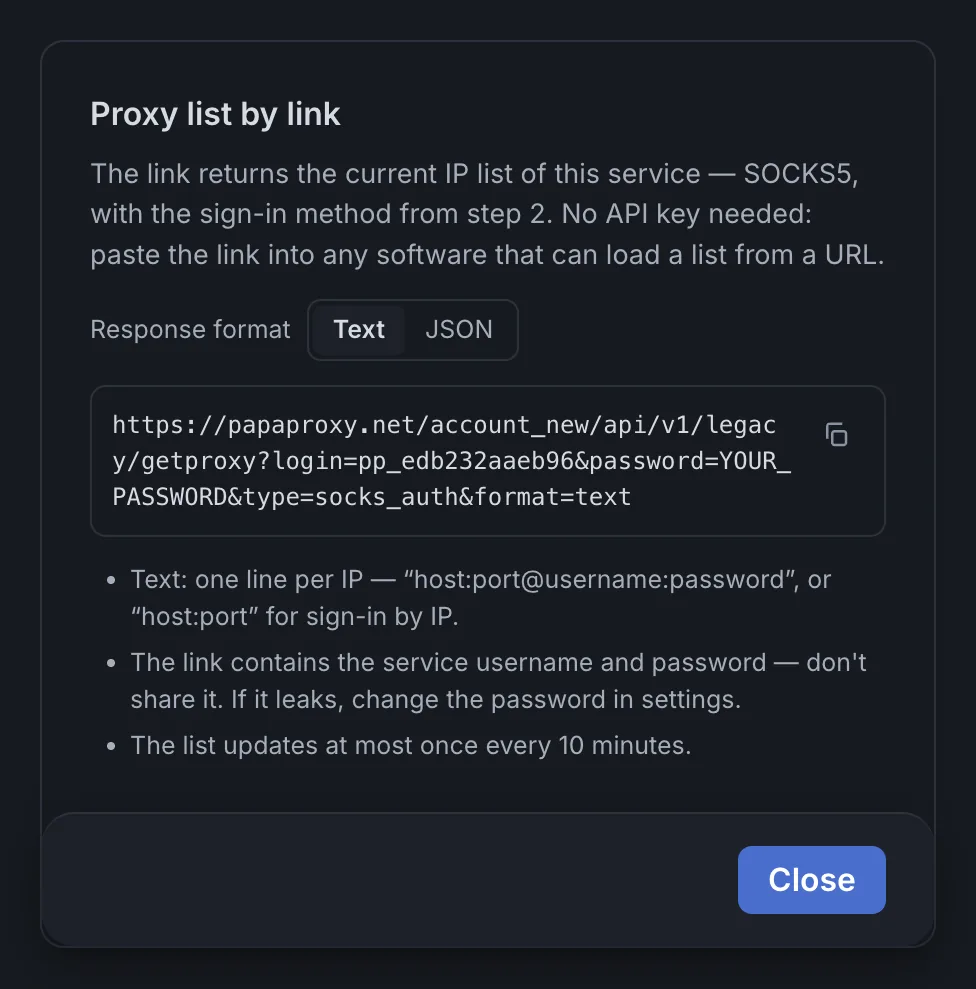
API gives a link that always returns the current IP list of the service, so your software can load it directly instead of from a file. You don’t need an API key: the link already contains the service username and password.
- Format: Text (one line per IP,
host:port@username:password, orhost:portwith IP whitelisting) or JSON. - Protocol and authentication follow your choice in step 2.
- Updates: the list behind the link refreshes at most once every 10 minutes, so after an IP refresh the new addresses can take up to 10 minutes to appear.
- Export. Copy all copies every line; .txt and .csv download the list.
- Country column. The country is determined by a third-party geolocation database (MaxMind by default).
- Credentials. The username and password are shown above the list. You can set your own on the Settings tab.
Step 3. Check the connection
This step takes the first proxy from the list with the settings from step 2 and shows whether requests are coming through. If something doesn’t work, it lists the common causes: 407 Proxy Authentication Required, a site returning 403 or a CAPTCHA, dropped connections, and proxies that worked and then stopped. All ports and protocols lists every port for both authentication methods.
IP refresh
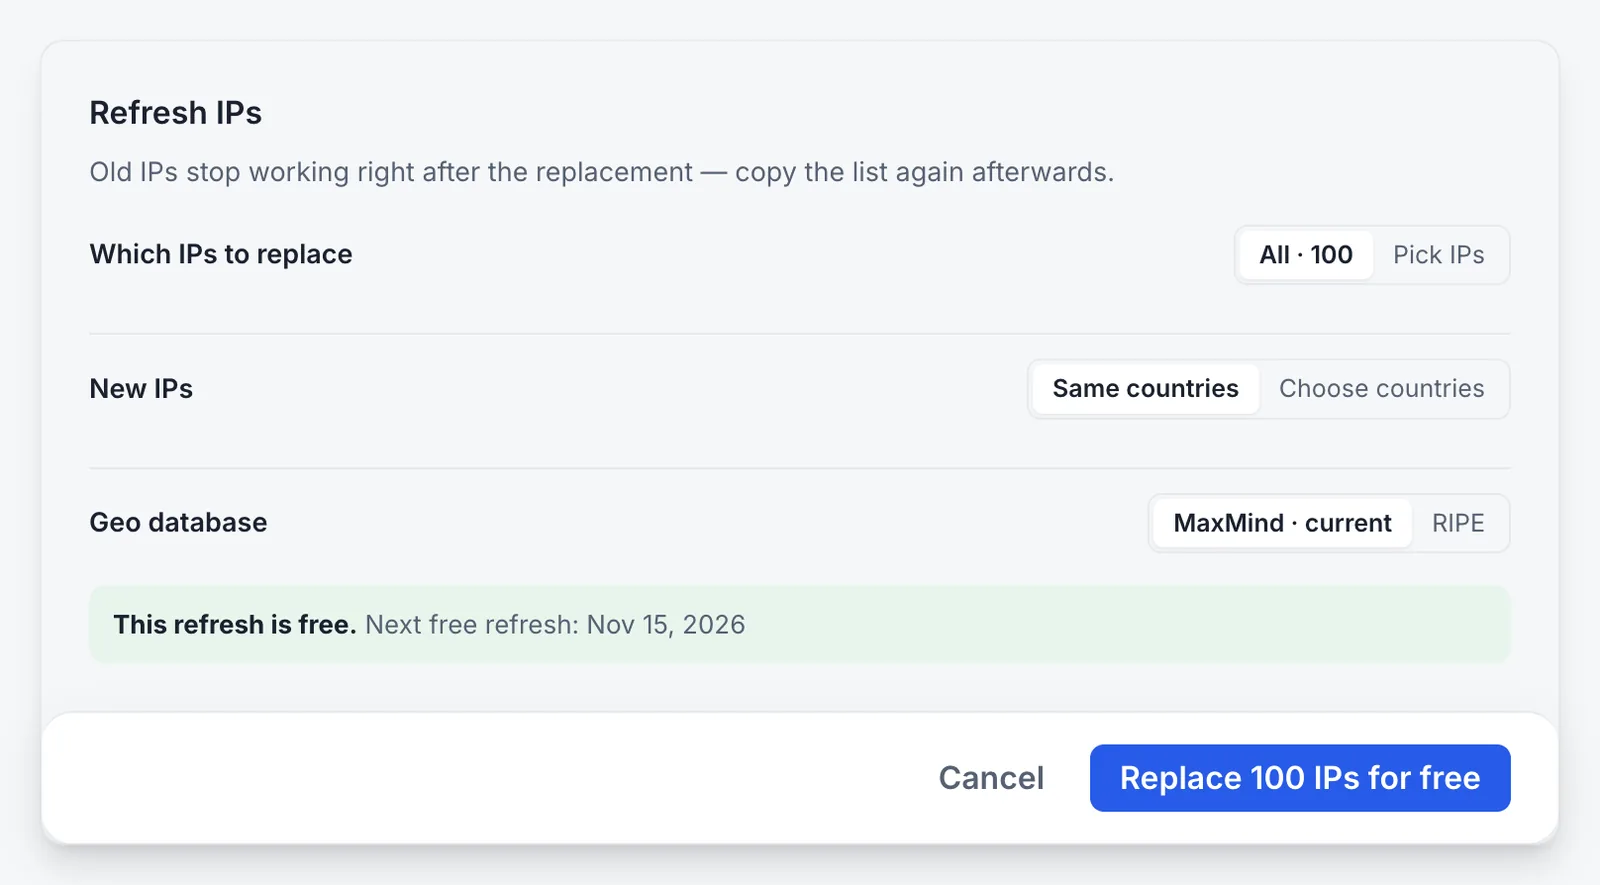
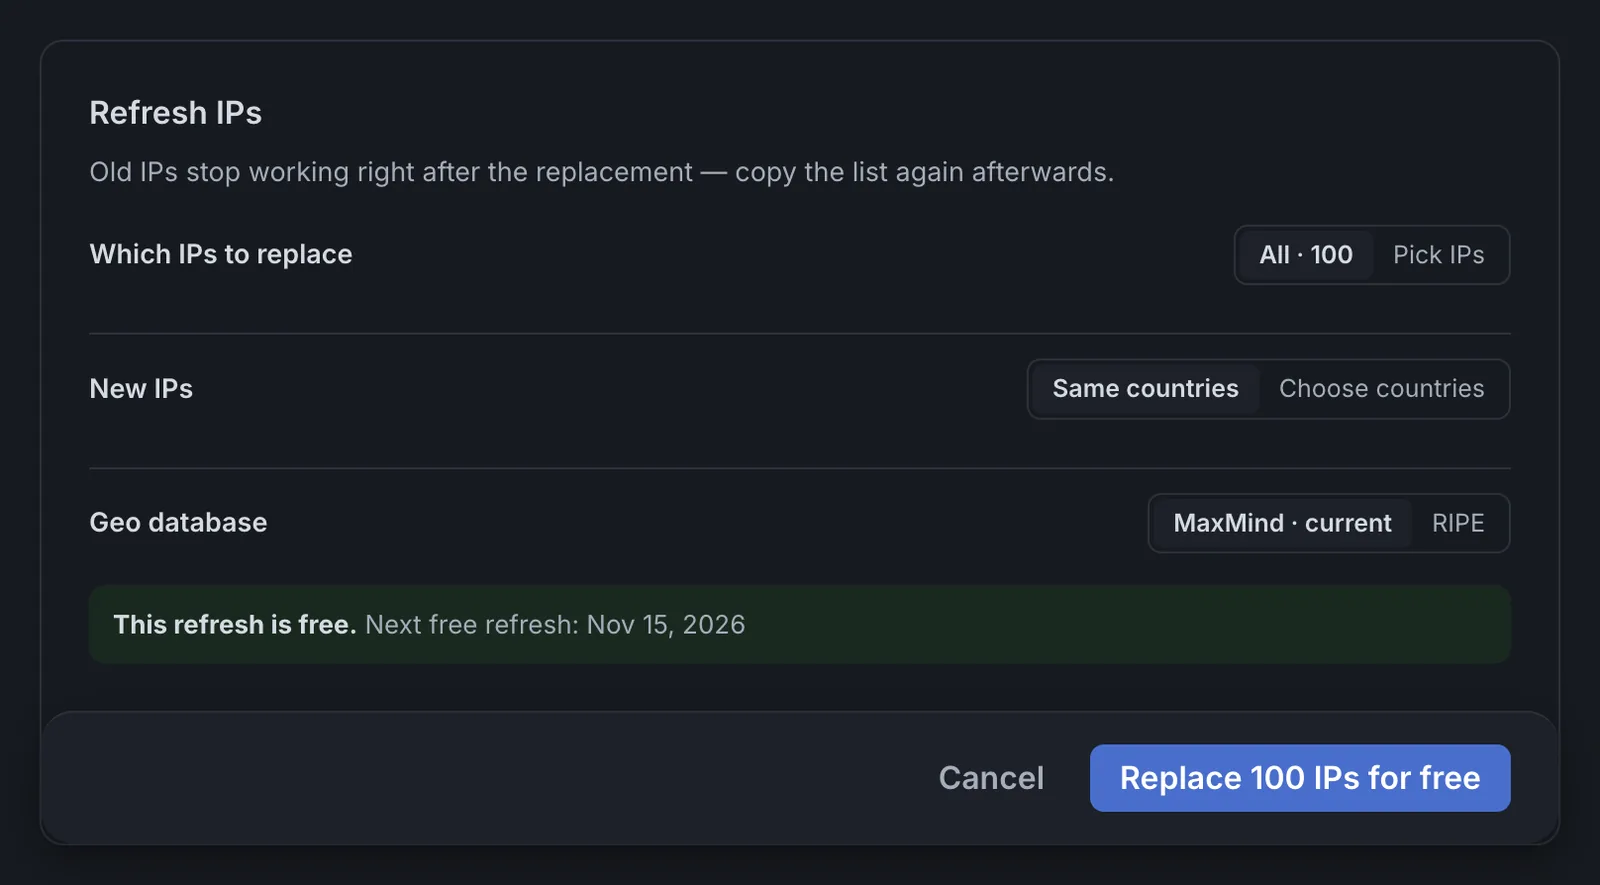
A refresh replaces some or all IPs in your service with new ones, for example when a target website has blocked part of your list. Open it with Refresh IPs in the ⋯ menu or on the Settings tab, where the IP refresh card also says whether the next refresh is free.
- Choose which IPs to replace
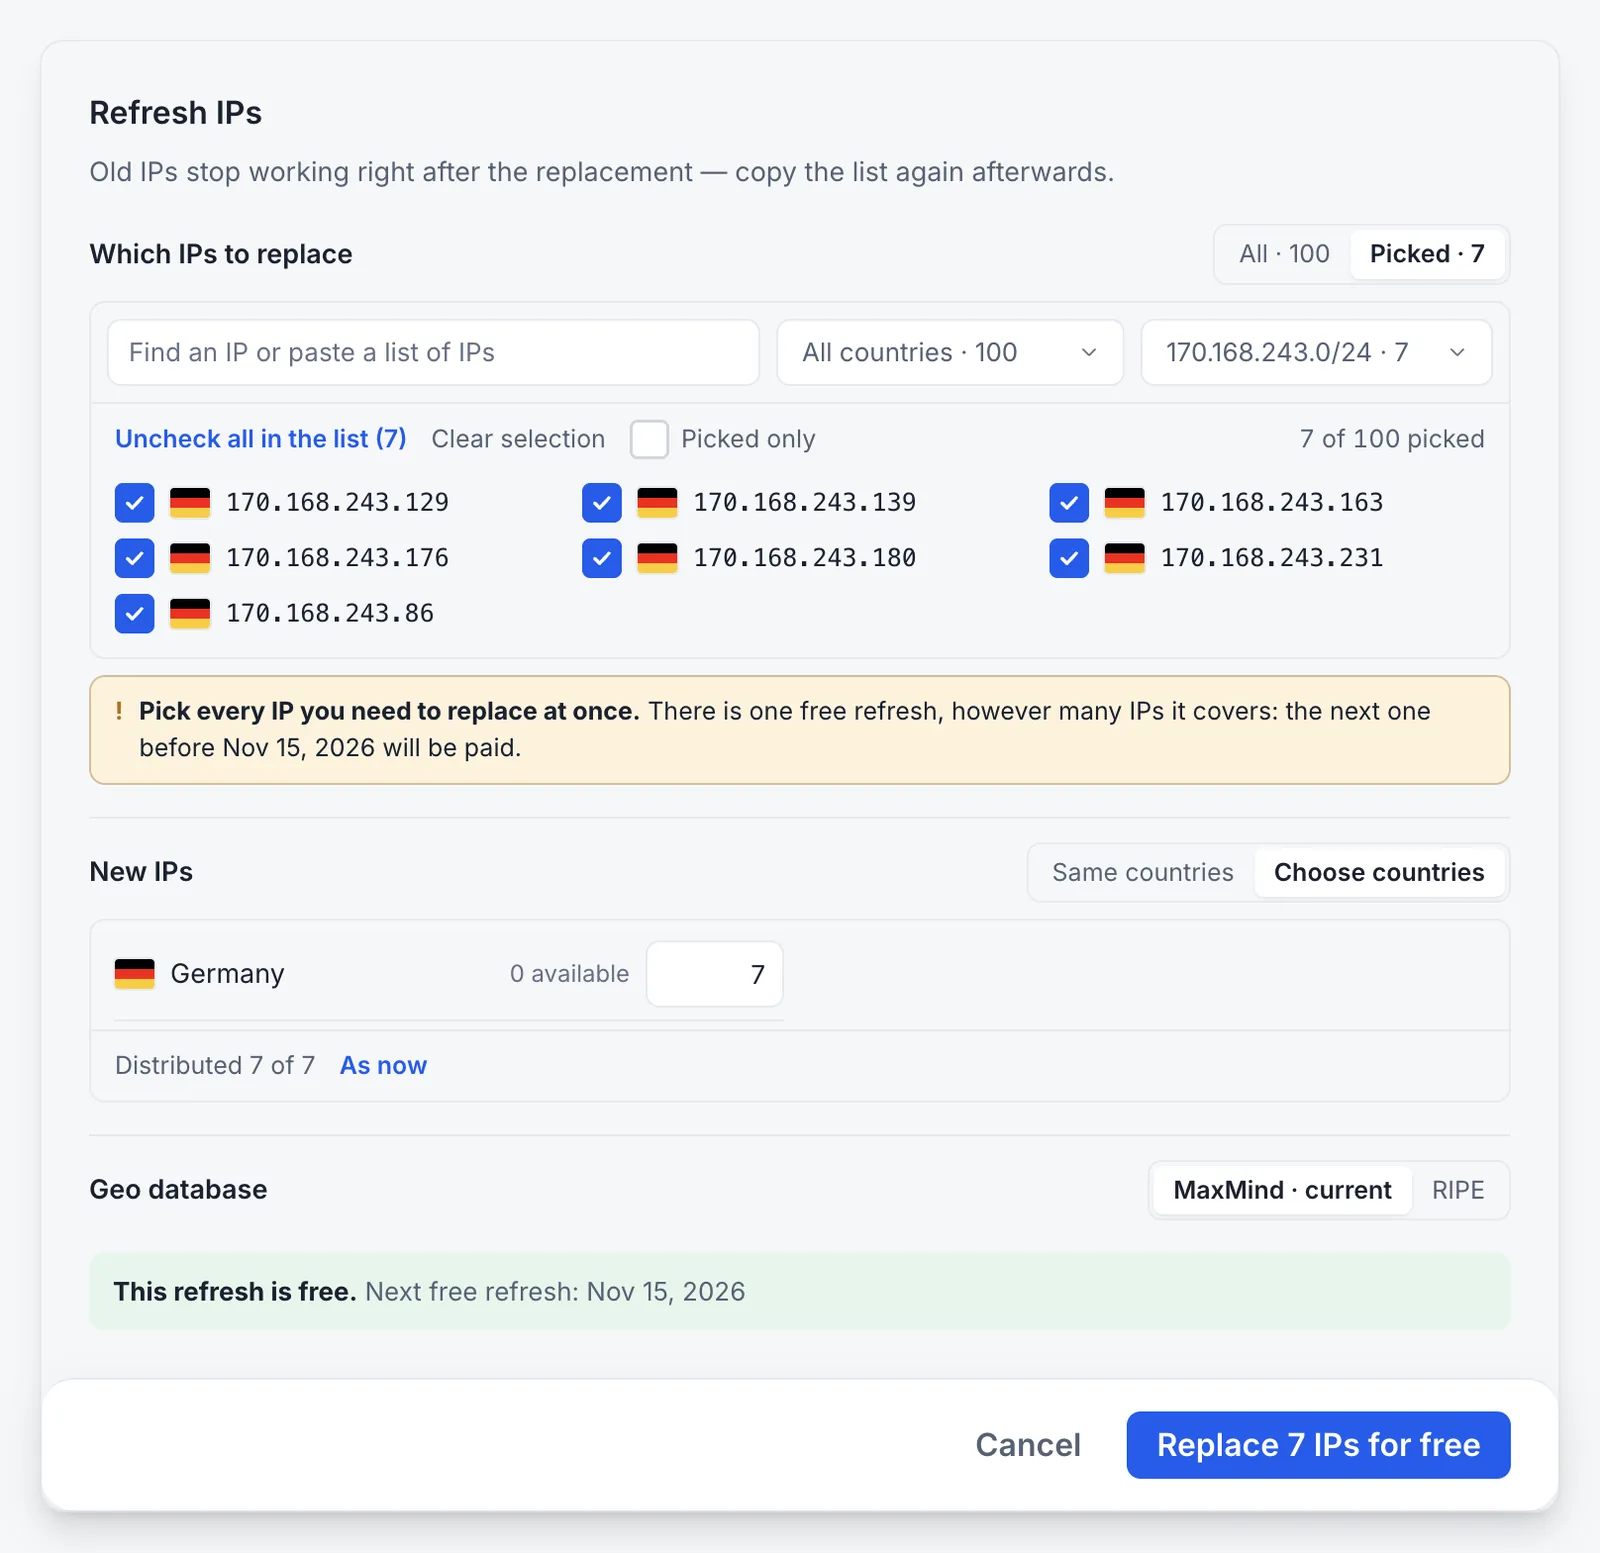
All replaces the whole service. Pick IPs opens the IP list, where you can:
- search for an IP, or paste a whole list of IPs from your software’s error log to find them all at once;
- filter by country or by
/24subnet. If a website has blocked one subnet, select it and click Check all in the list; - turn on Picked only to review your selection before you continue.
- Choose where the new IPs come from
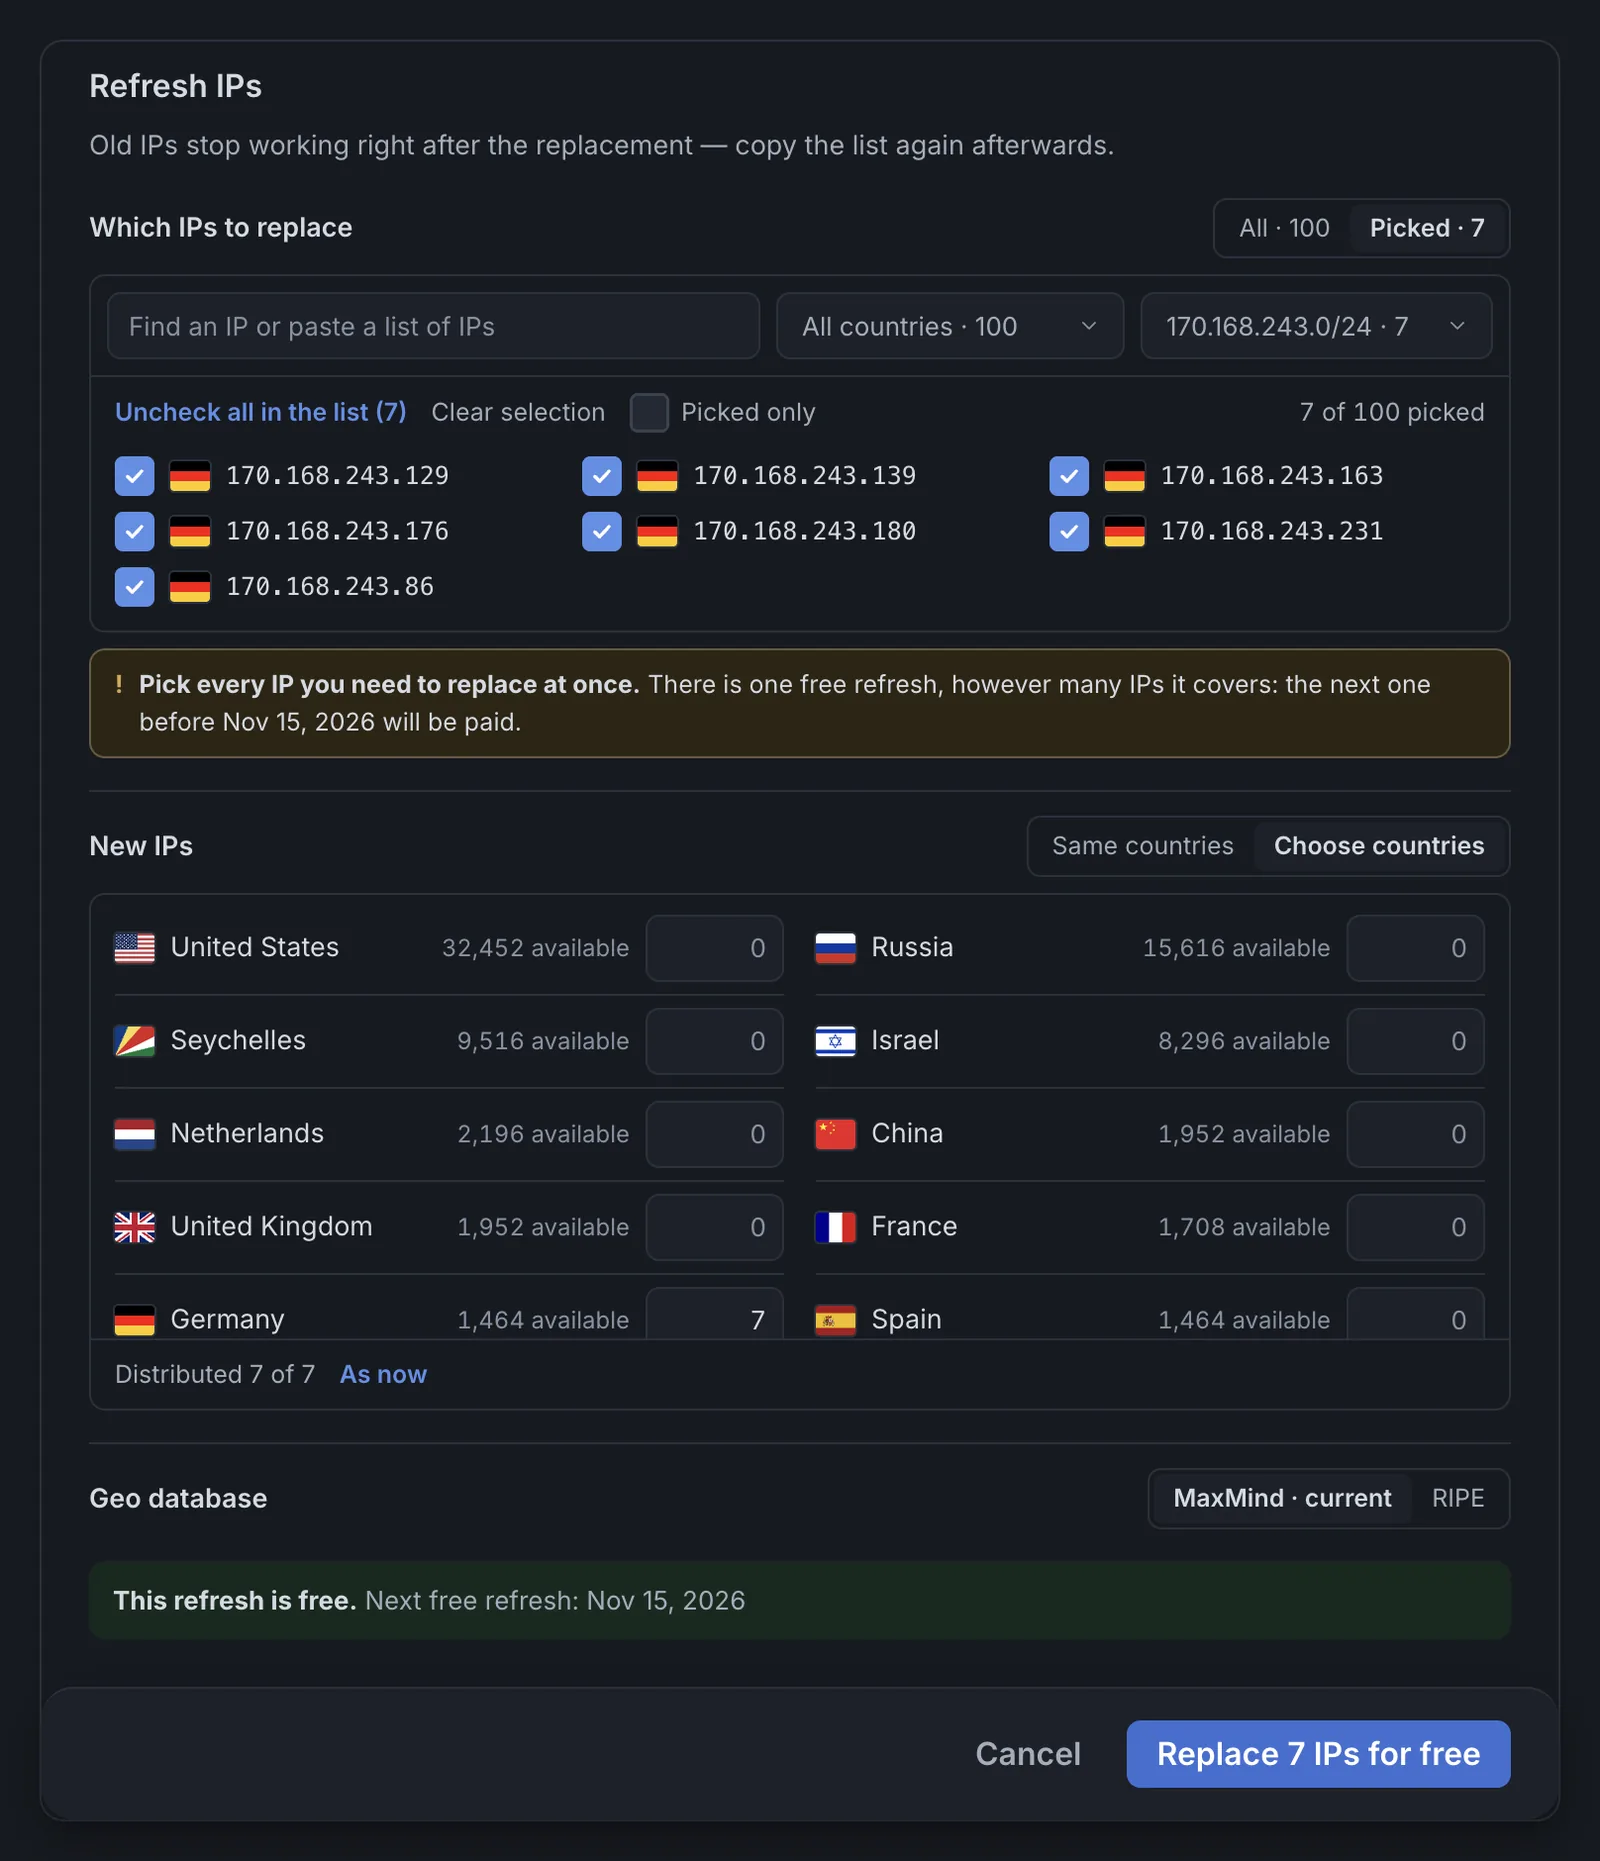
Same countries gives each replaced IP a new one from the same country. Choose countries lets you move IPs to other countries. The form starts with the current countries of the IPs you picked, and you enter how many new IPs you want in each country. The counter under the list must reach the number of picked IPs (for example, “Distributed 7 of 7”), or the replace button stays inactive. As now resets the form.
- Check the geo database
Each IP’s country comes from a third-party geolocation database: MaxMind by default, or RIPE. Switching the database applies to the new IPs and changes how their locations are shown in the Dashboard. Databases sometimes disagree about an IP’s country, so choose the one that matches how your target website sees locations.
- Confirm
The bottom of the dialog says whether this refresh is free and when the next free one becomes available. The button shows how many IPs will be replaced and whether there’s a charge.
Statistics
The Statistics tab shows the same reports as Analytics, limited to this service: requests, bandwidth, success rate, response times, connection limits, error causes, and target websites. Choose 24 hours, 7, 30, or 90 days, and export to CSV.
Services with IP whitelisting are matched by source IP. If the same IP is whitelisted in another account, its requests appear in the statistics of both.
Connections by IP or by username and password
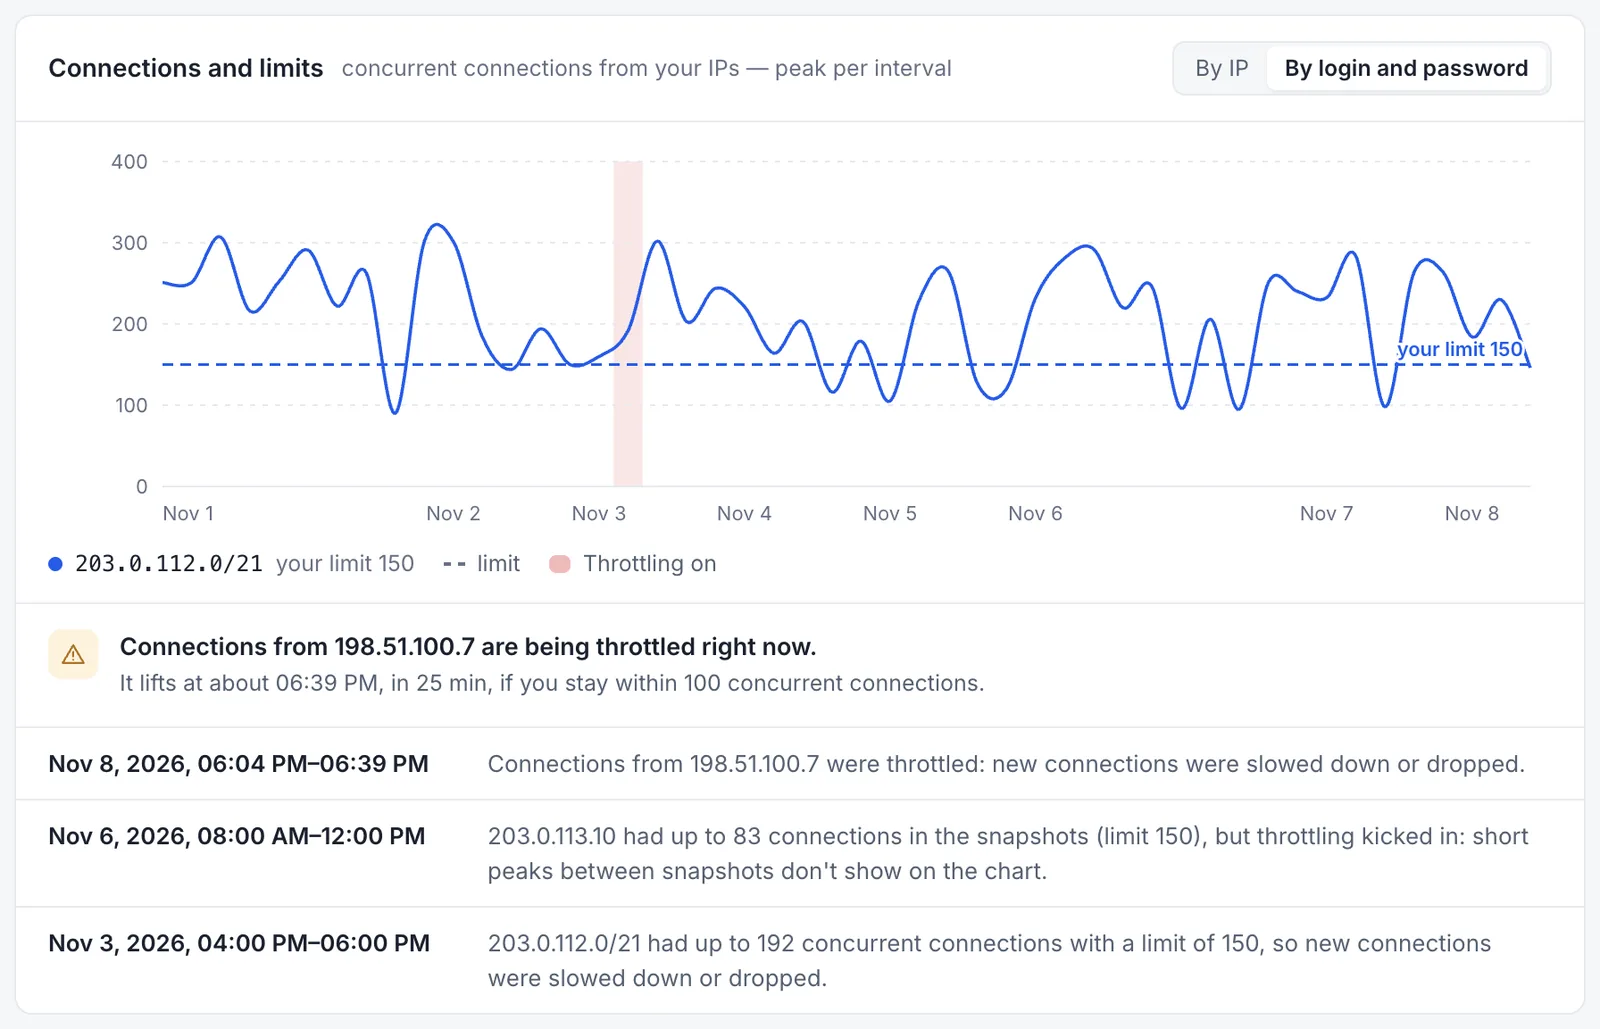
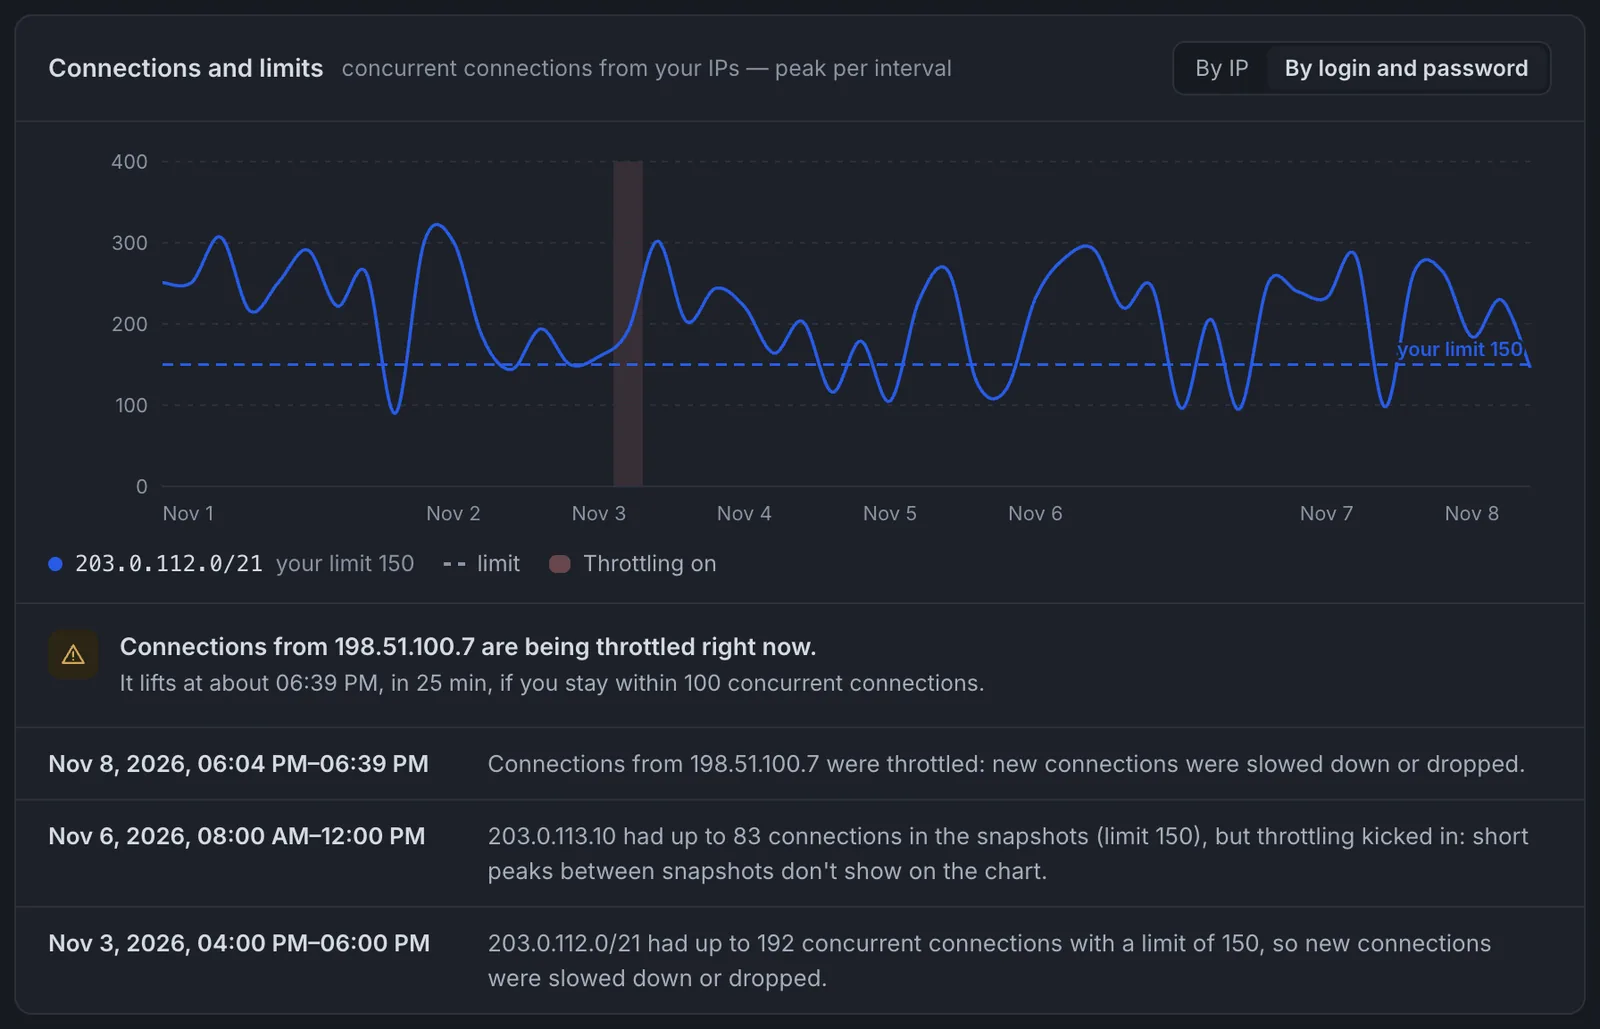
When the service has connections of both kinds, a switch appears in the top-right corner of the Connections and limits chart:
- By IP shows connections authorized by IP whitelisting: one line for each IP whitelisted for the service, each compared with that IP’s own limit. Click an IP under the chart to add or remove it; up to five are shown at once.
- By login and password shows connections with username/password authentication. These are accepted from the whole
/21network around each whitelisted IP (2,048 addresses: for 85.249.3.145, that’s 85.249.0.0–85.249.7.255), so the chart has one line per/21. The dashed your limit N line is the total limit of your whitelisted IPs within that network.
The event log under the chart lists throttling events of both kinds in either mode.
Settings
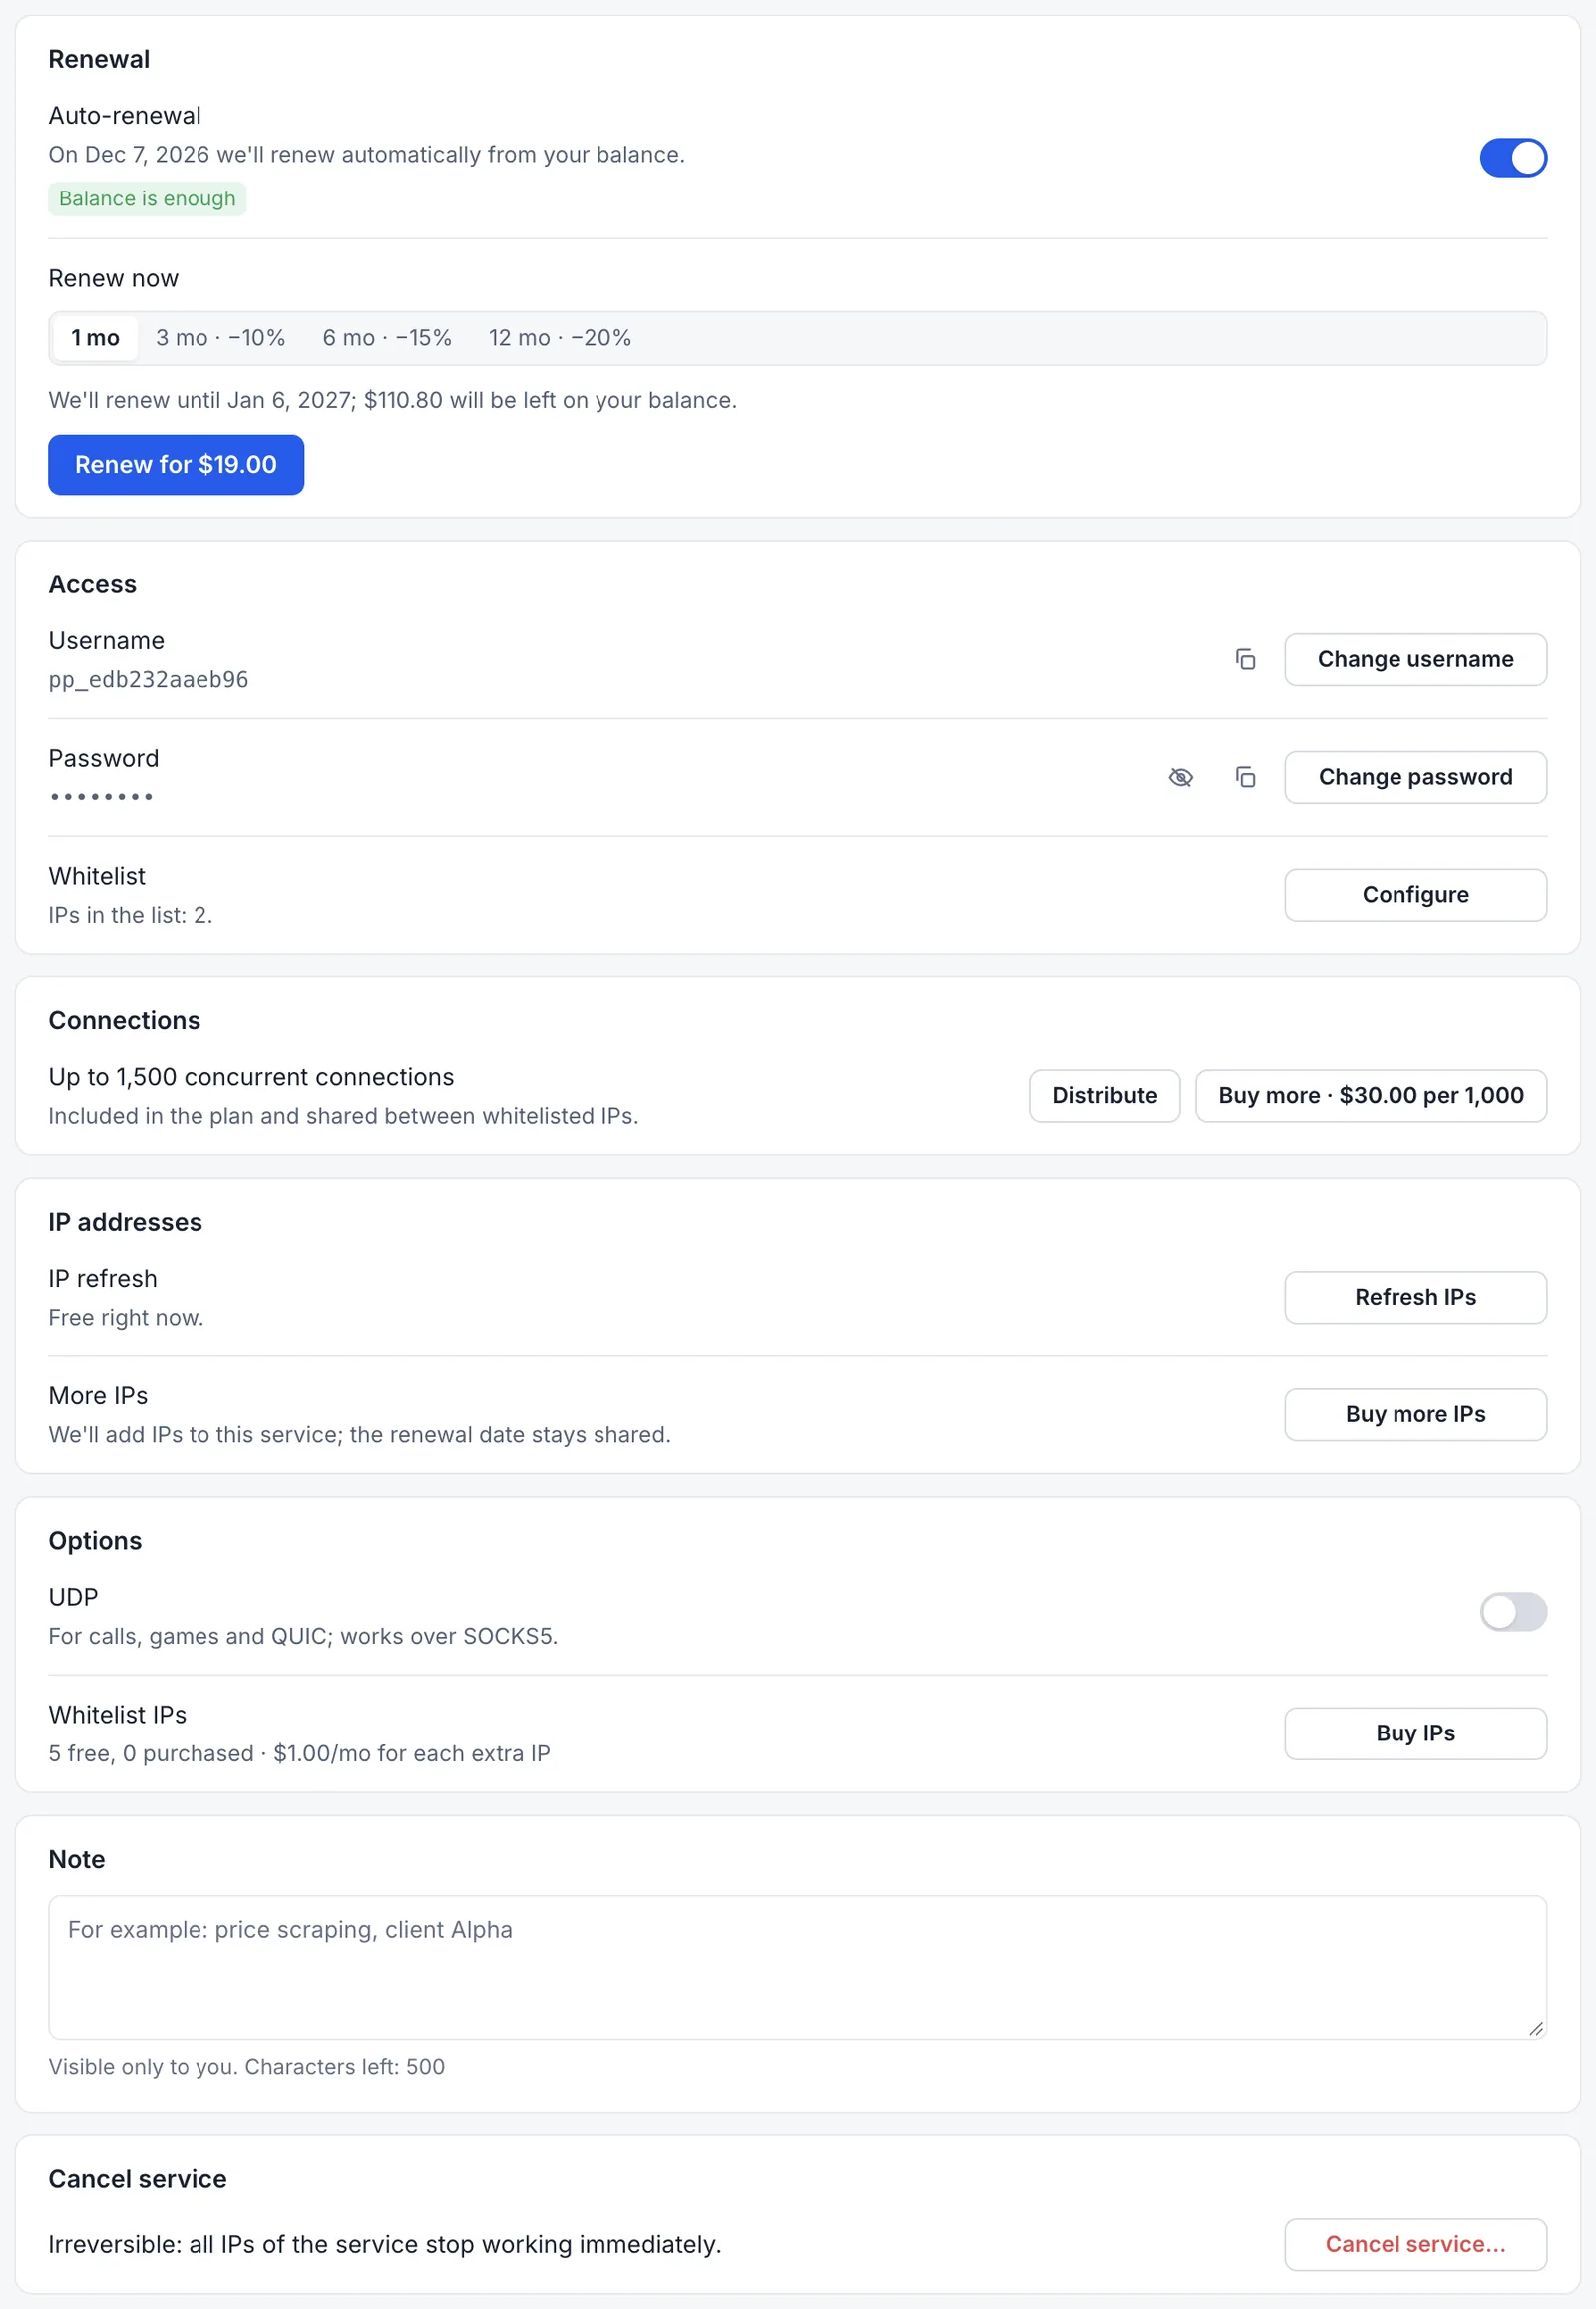
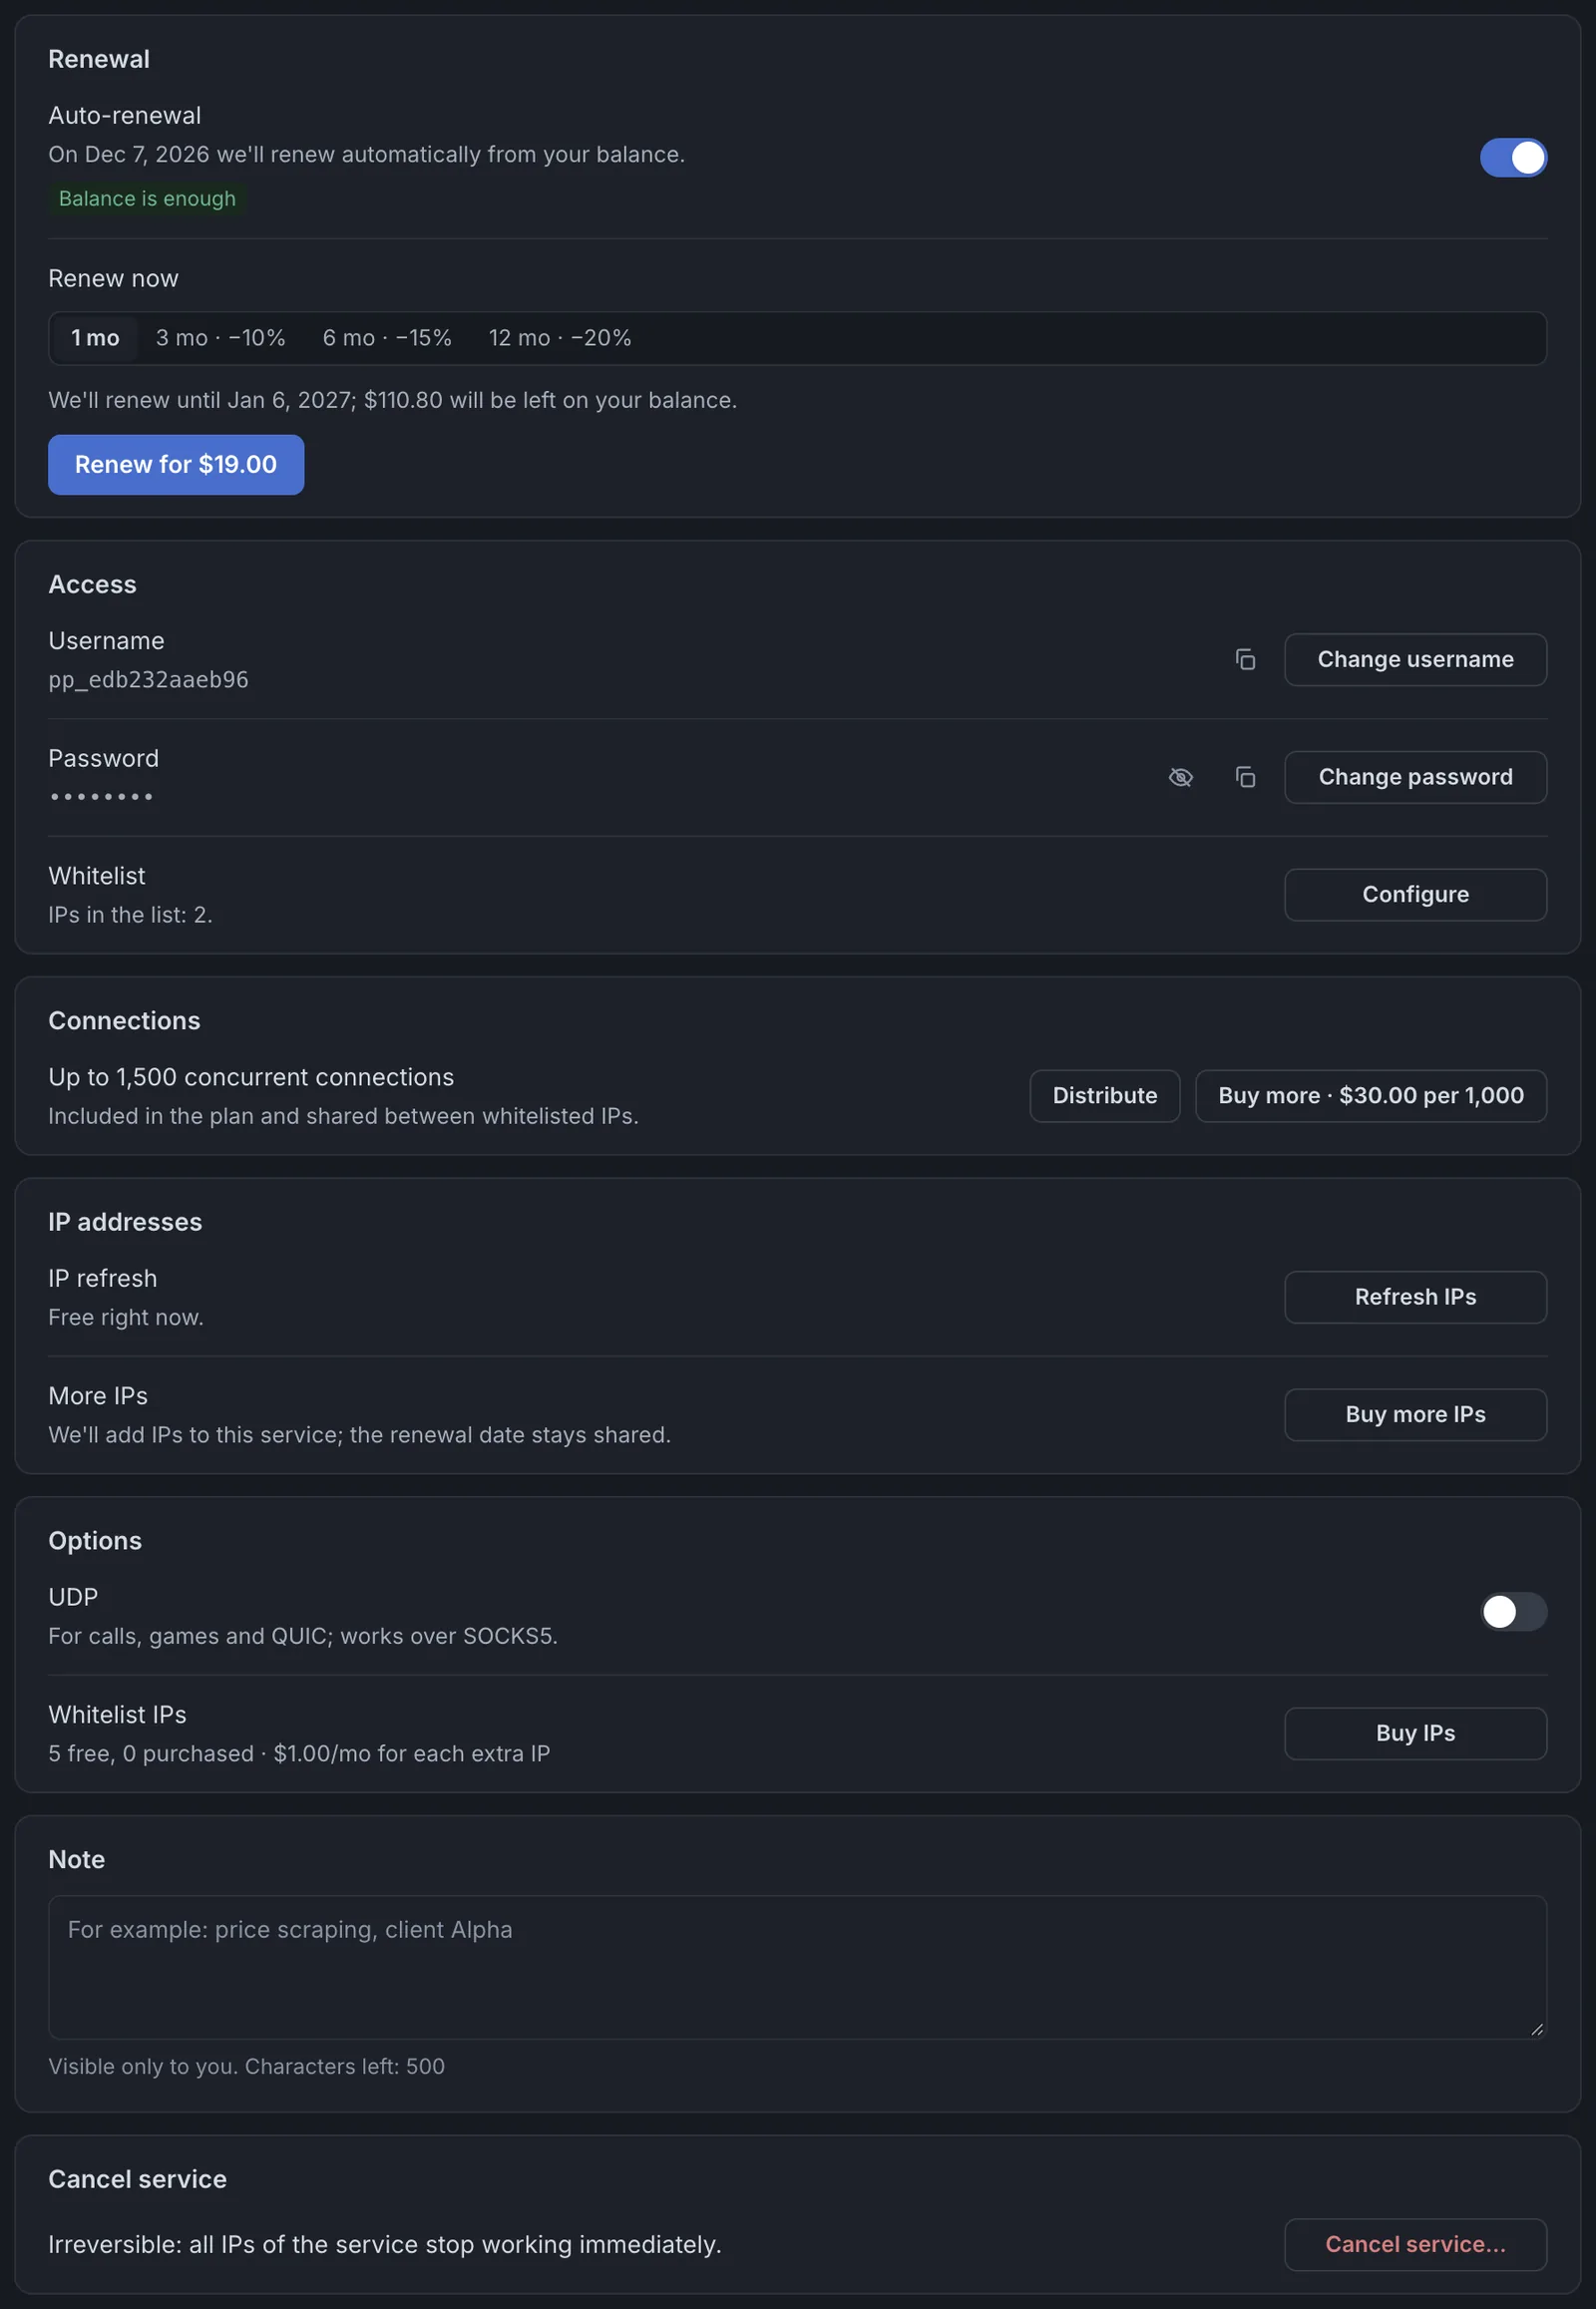
| Setting | What it does |
|---|---|
| Auto-renewal | Renews the service from your balance on the renewal date and shows whether your balance covers it. |
| Renew now | Extends the service for 1, 3, 6, or 12 months (with a 10%, 15%, or 20% discount) and shows the new end date and the balance left. |
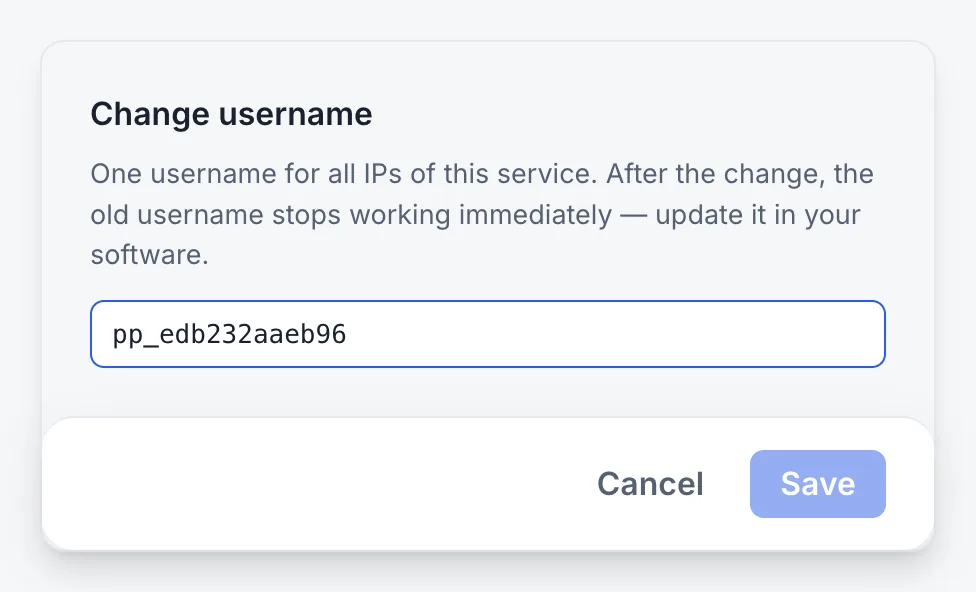
| Change username / password | One username applies to all IPs in the service. A new password is generated randomly, and the old one stops working immediately. |
| Whitelist and connections | The number of whitelisted IPs, the connection limit, and how it’s split. Extra connections cost $30 per 1,000. |
| IP refresh | Whether the next refresh is free, and the button to start one. |
| More IPs | Adds IPs to this service; the renewal date stays shared. |
| Options | UDP (for voice, gaming, and QUIC traffic over SOCKS5) and extra whitelist slots. |
| Note | A private note of up to 500 characters, visible only to you and searchable in the service list. |
| Cancel service | Irreversible: all IPs in the service stop working immediately. |
Renewal
The Renewal card on the Settings tab controls both automatic and manual renewal.
- Auto-renewal renews the service from your balance on the date shown on the card. The label under it says whether your balance covers the renewal. If it doesn’t, top up in advance or turn on auto top-up.
- Renew now extends the service right away. Choose 1, 3, 6, or 12 months (10%, 15%, or 20% off for the longer terms). The line under the term selector shows the new end date and how much will be left on your balance.
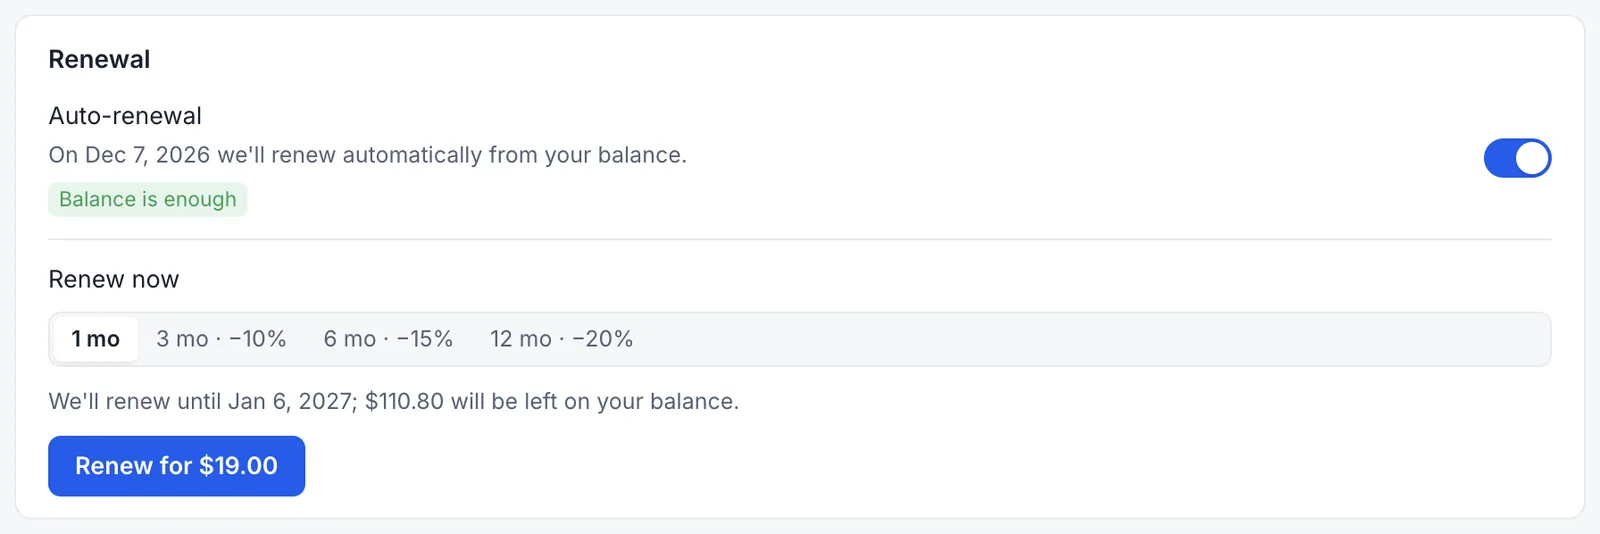
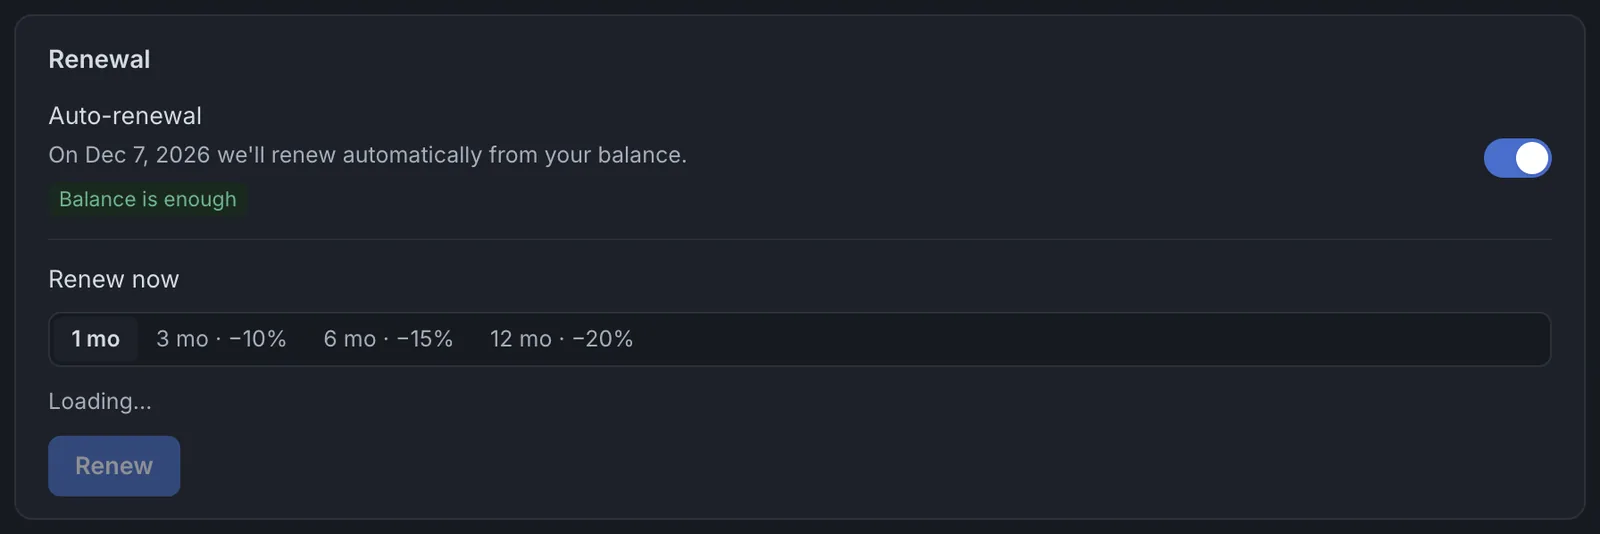
Renew for $19.00 opens a confirmation dialog with the amount: your balance is charged only after you confirm. The new term is added to the end of the current one, so renewing early doesn’t lose any days.
Adding IPs to a service
Buy more IPs (in the service header and on the Settings tab) adds IPs to the same service. The new IPs share its username, password, whitelist, and renewal date, so you keep a single list and a single renewal.
- Choose a country
The list shows which countries are already in the service and how many IPs are in stock in each one. Countries without stock are marked No IPs. One purchase adds IPs in one country; repeat it for each country you need.
- Set the number of IPs
The minimum is 100 IPs per purchase. Use the presets (100 to 1,000) or enter any amount.
- Check the price and pay
You pay only for the days left in the current billing period: the dialog shows the prorated amount and how much the service’s monthly price increases from the next renewal. The button shows the amount (for example, Buy for $300.00), and clicking it charges your balance.
Username and password
All IPs in a service use one username and one password. Both are on the Settings tab under Access.
- Change username lets you set your own username. Save becomes active once you change the value.
- Change password generates a new random password; you can’t type your own.
Add-ons: UDP and extra whitelist IPs
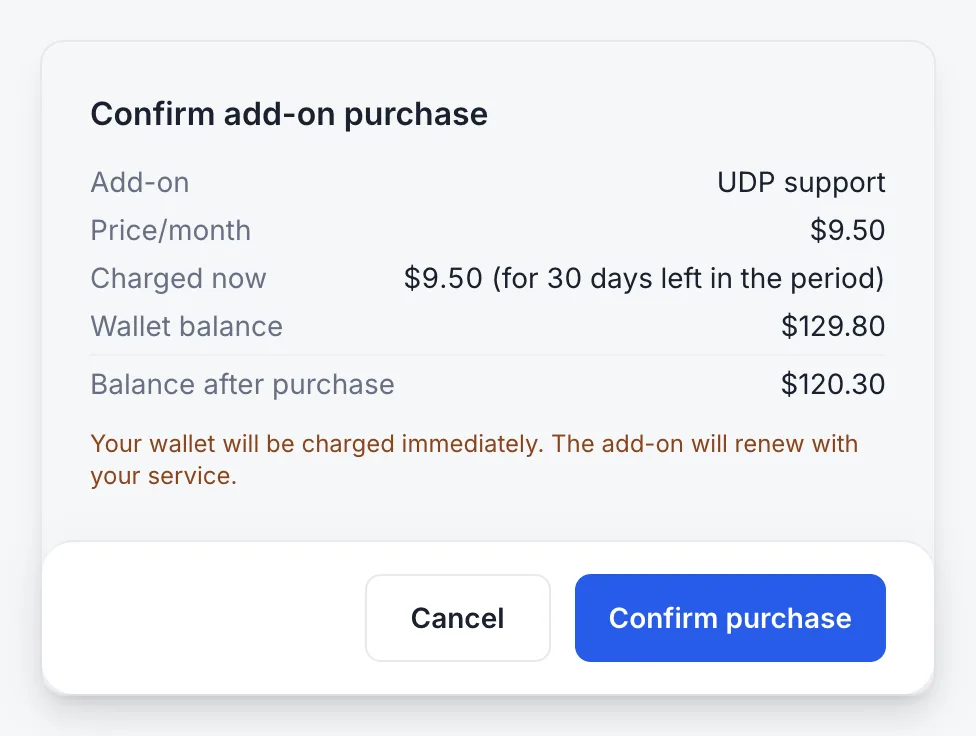
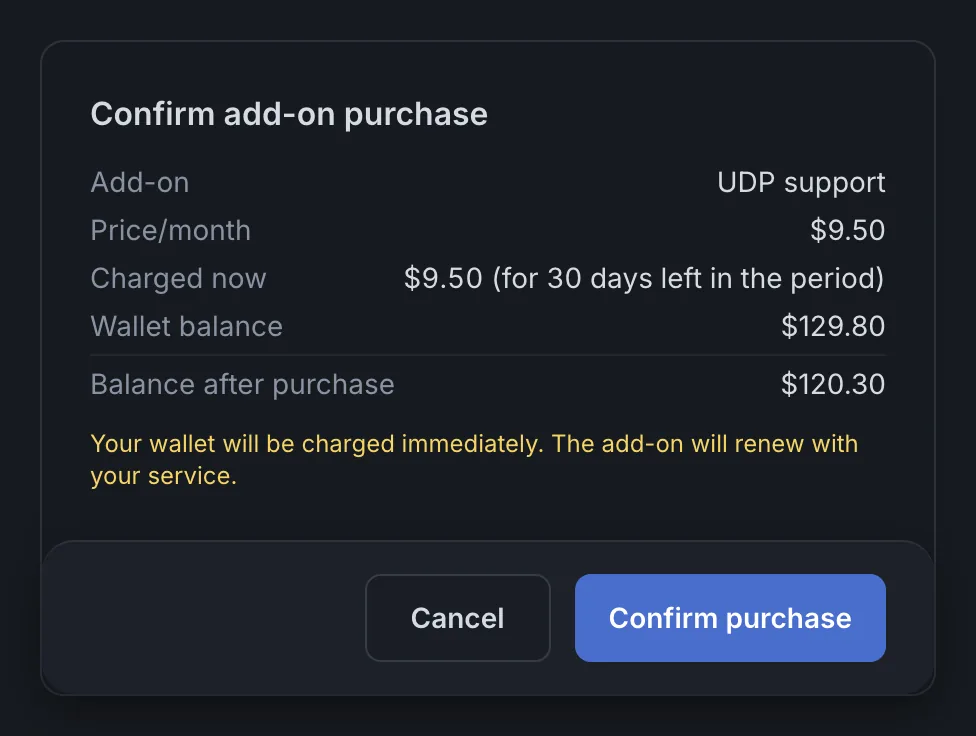
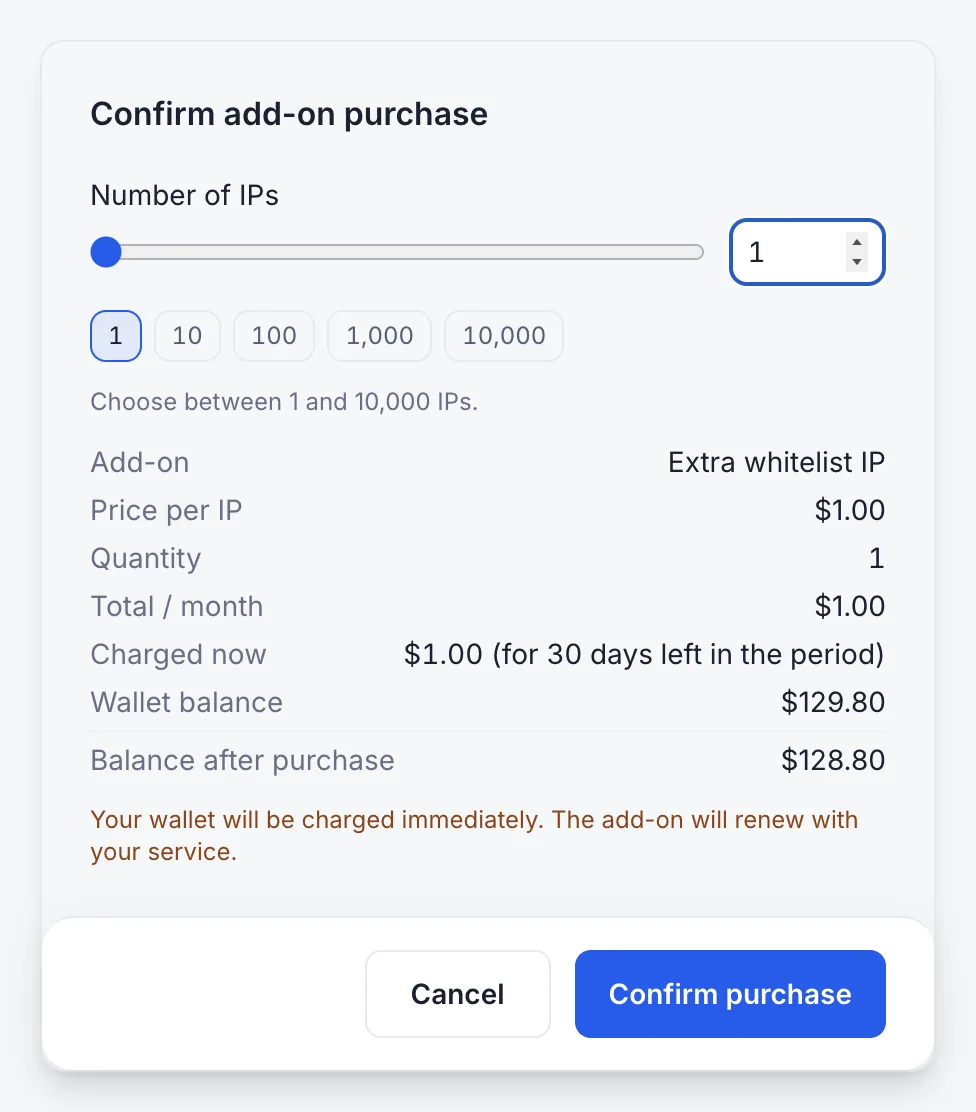
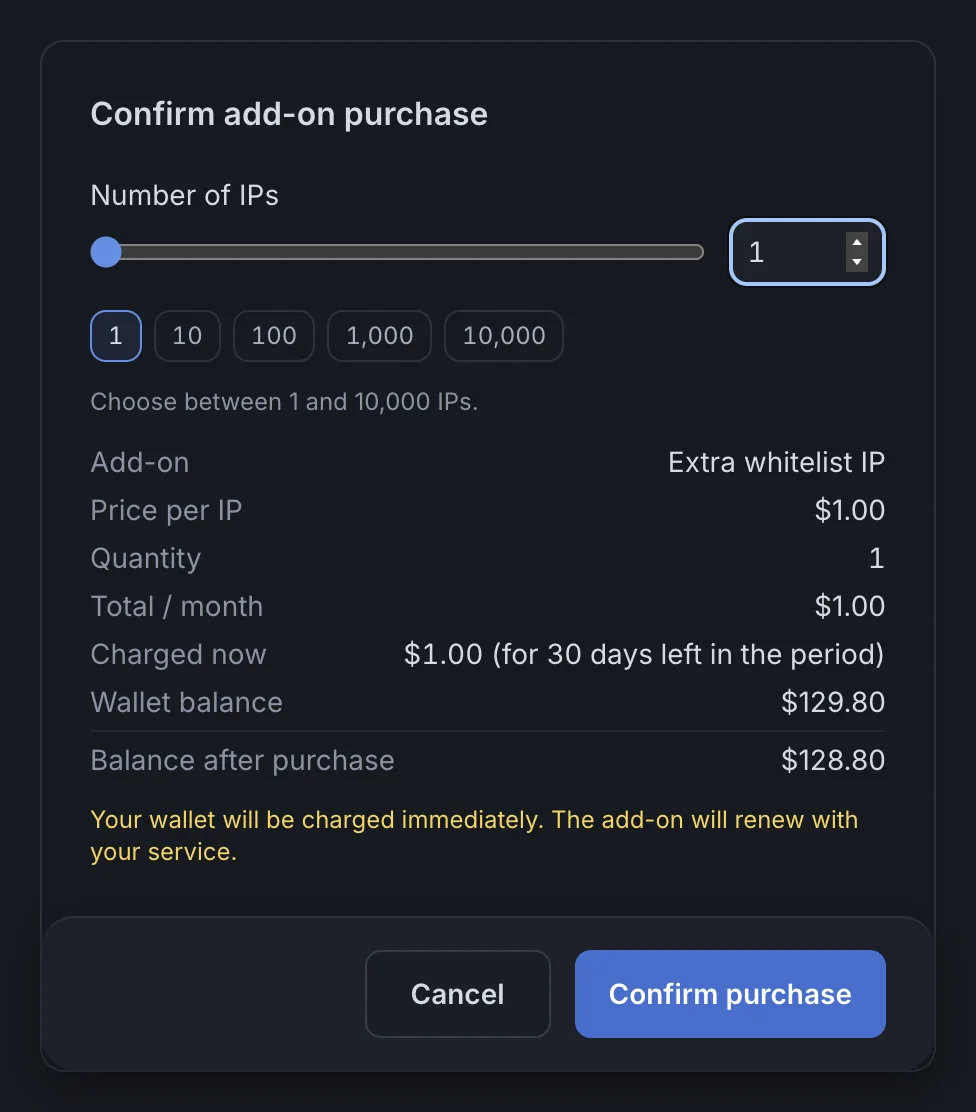
The Options card on the Settings tab has two add-ons. Both open a confirmation dialog with the monthly price, the prorated amount charged now for the days left in the period, and your balance after the purchase. The wallet is charged when you click Confirm purchase, and the add-on renews together with the service.
UDP
Turn on the UDP switch to carry voice, gaming, and QUIC traffic over SOCKS5. The add-on costs 50% of the base plan price and is enabled on every IP in the service; for a $19 plan, that’s $9.50 per month.
Whitelist IPs
Five whitelist IPs are free. Buy IPs adds more at $1 per IP per month, from 1 to 10,000. The card shows how many free and purchased slots you have.
Last updated: November 9, 2026.