 English
 Русский
How to use the PapaProxy.net Dashboard
The Dashboard is where you buy proxies, connect them to your software, track usage, and manage billing. This guide walks through every section, in the order you’re likely to need them.
Quick start: from sign-up to a working proxy
Most customers have their first proxy working within a few minutes. Here’s the shortest path:
- Create an account and confirm your email
Enter your email and a password, then type the 6-digit code we send you. You can also sign in with a Google account.
- Add funds to your balance
Open Wallet, pick an amount, and pay with cryptocurrency or a credit/debit card. Purchases and renewals are paid from this balance. More about the wallet.
- Buy proxies
In Buy proxies, choose a proxy type, the number of IPs, countries, and a plan term. If you’d like to test first, pick the paid 48-hour trial as the term. How the order form works.
- Add the IP you’ll connect from
Proxies accept connections only from IPs on your whitelist. The order form offers to add your current IP; you can add more on the service page at any time.
- Copy the proxy list and check the connection
Open the service in My proxies, pick a protocol and line format, and copy the list into your software. The Check the connection step shows whether requests are coming through. Managing proxies.
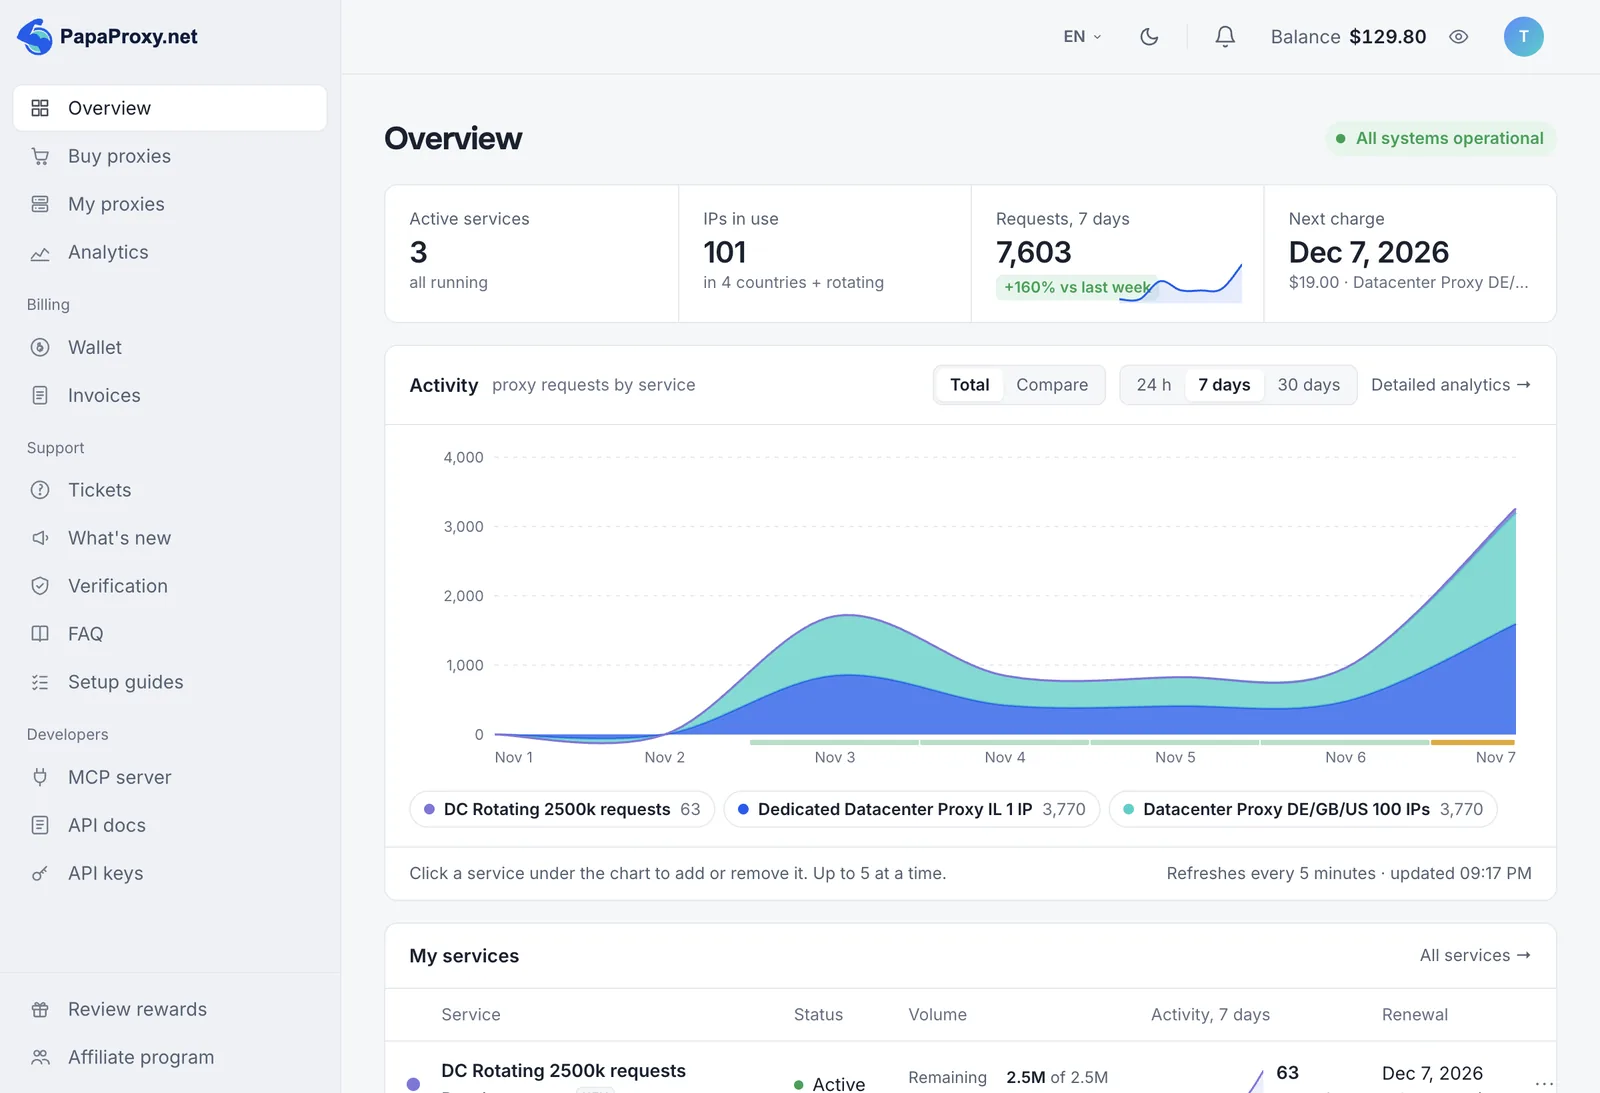
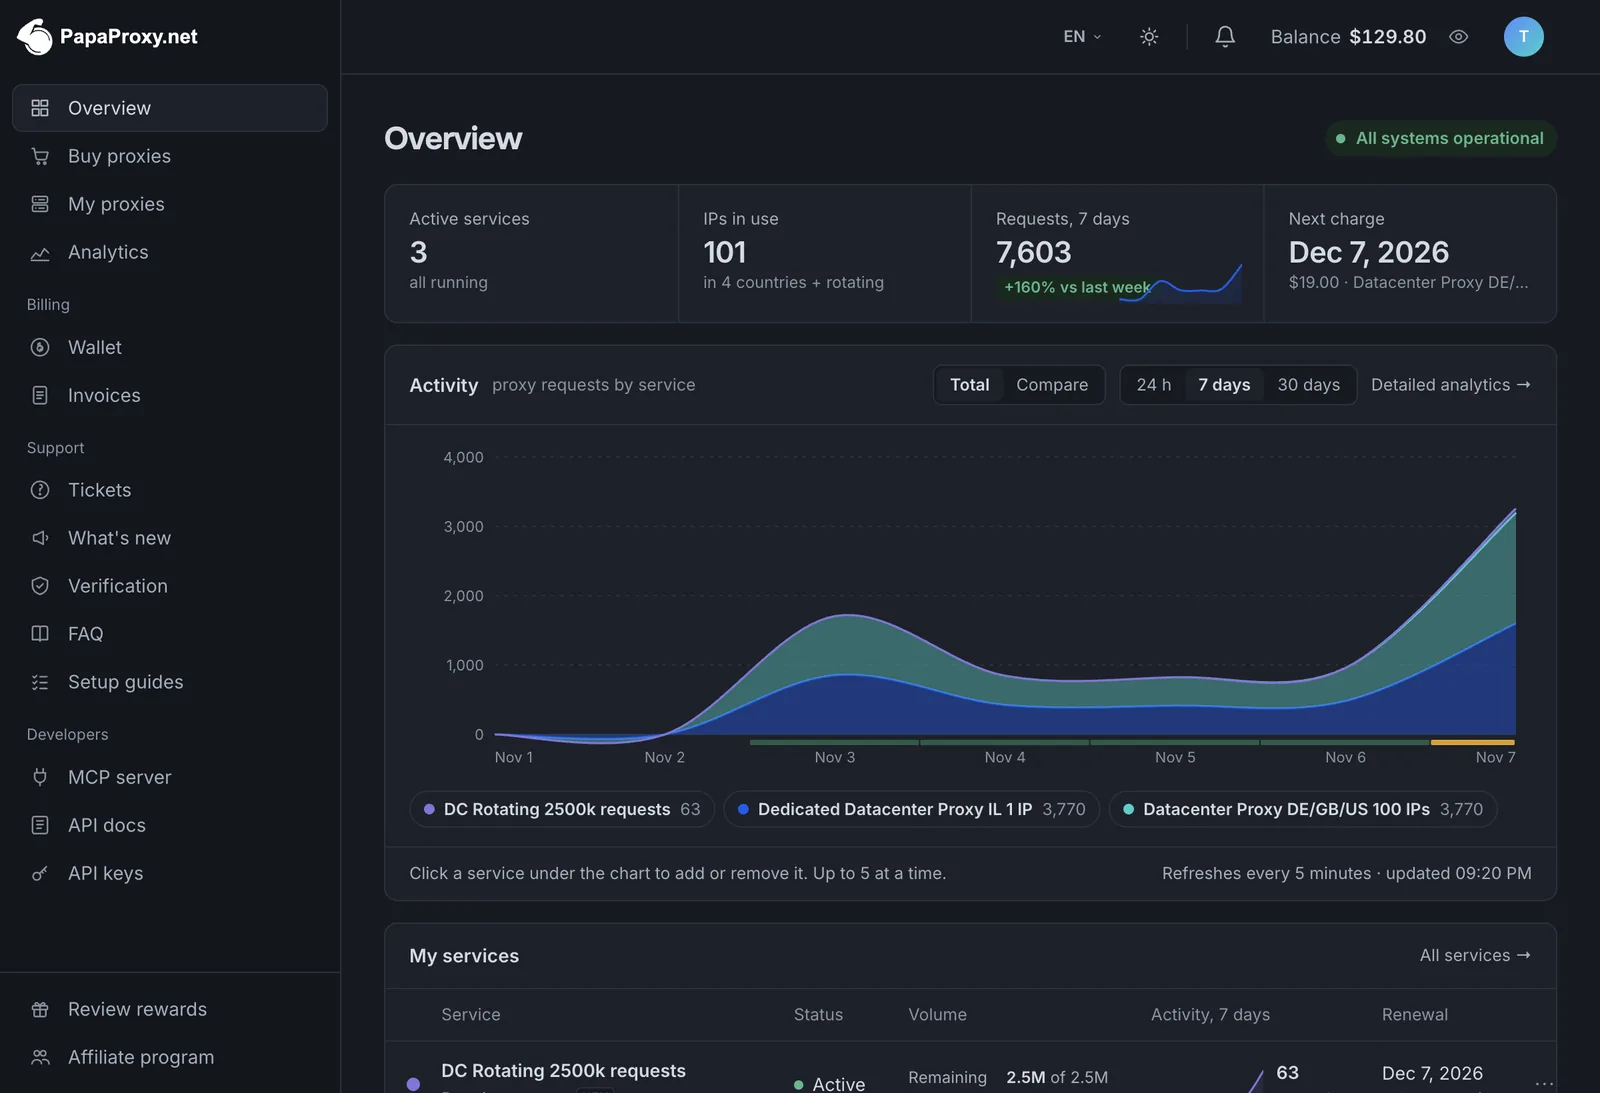
Dashboard layout
The menu on the left groups the sections by task. The header holds the controls you need on every page.
| Menu item | What it’s for |
|---|---|
| Overview | Account summary: network status, active services, requests, upcoming charges, and anything that needs attention. |
| Buy proxies | The order form for datacenter, ISP, dedicated, and rotating proxies. |
| My proxies | All your services, each with its own page for connection details, statistics, and settings. |
| Analytics | Requests, bandwidth, errors, response times, and target websites across all services. |
| Wallet, Invoices | Balance top-ups, saved cards, auto top-up, transaction history, and invoices. |
| Tickets, What’s new | Support requests (the ticket system) and service announcements. |
| Verification | Optional identity check, needed only for card payments. |
| MCP server, API docs, API keys | Tools for managing your account from code or an AI agent. |
| Affiliate program | Commission for customers you refer. |
In the header, you’ll find the language switcher (15 languages), the light/dark theme toggle, notifications, your balance (click it to open the wallet, or hide the amount), and the account menu with Settings and Log out.
Signing up and logging in
- Sign-up. After you register, we email a 6-digit code to confirm your address. If it doesn’t arrive, request a new one on the same screen.
- Two-factor authentication. If you turn on 2FA in Settings → Security, the login form also asks for a code from your authenticator app or one of your recovery codes.
- Forgotten password. Use Forgot password? on the login form; we’ll email a link to set a new one.
Guide sections
Last updated: November 9, 2026.