 English
 Русский
Account settings
Open Settings from the account menu in the header. It has six tabs: Profile, Security, API keys, Webhooks, Notifications, and Appearance.
Profile and billing details
Open in Dashboard- Profile: your name and phone number. The account email can’t be changed.
- Billing profile: choose Personal or Organization. For an organization, enter the country, company name, address, and VAT or tax ID; they appear as the buyer on PDF invoices.
- Invoice details: up to 5 extra label–value pairs printed on bank transfer invoices, such as a SIREN number or a purchase order reference.
Security
- Change password: enter the current password and the new one twice.
- Two-factor authentication: click Enable 2FA, scan the QR code with an authenticator app, and enter the 6-digit code. Save the recovery codes in a safe place: they let you log in if you lose your phone. You can generate new codes or turn 2FA off on the same tab.
API keys
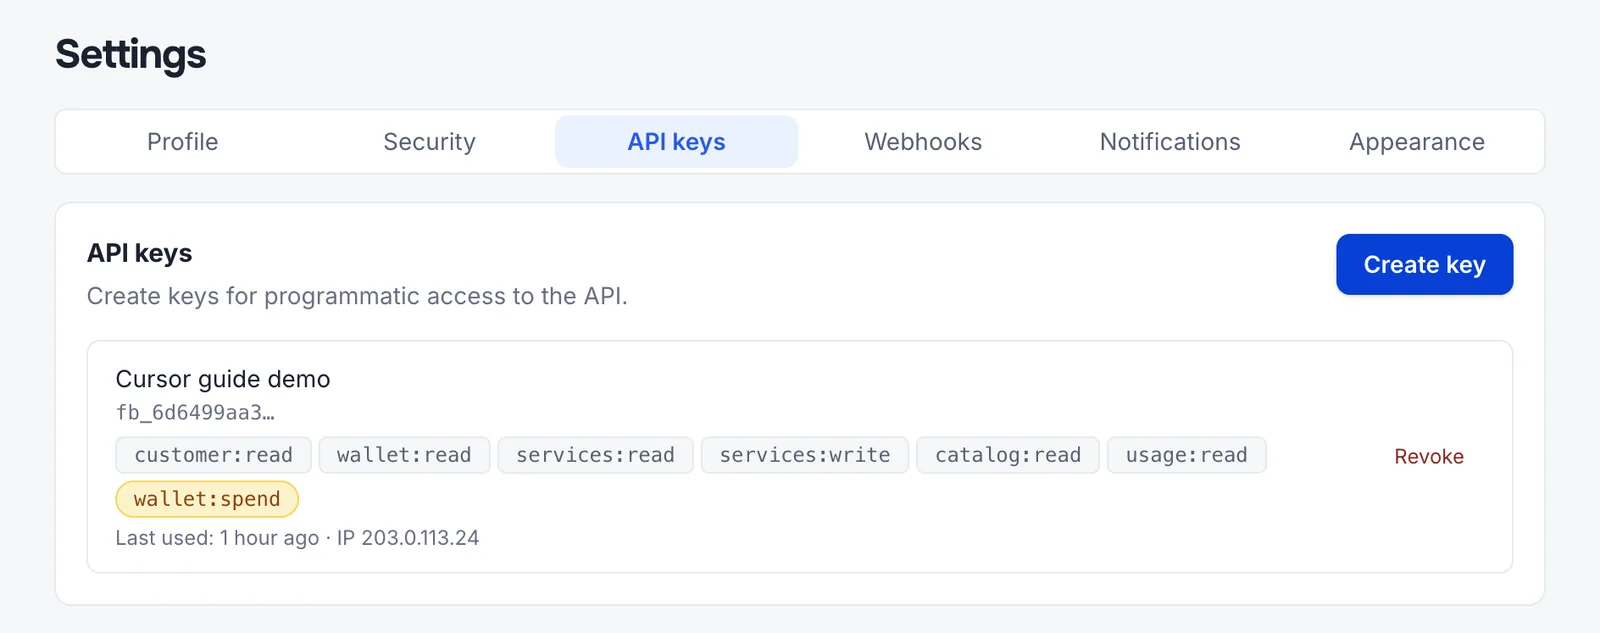
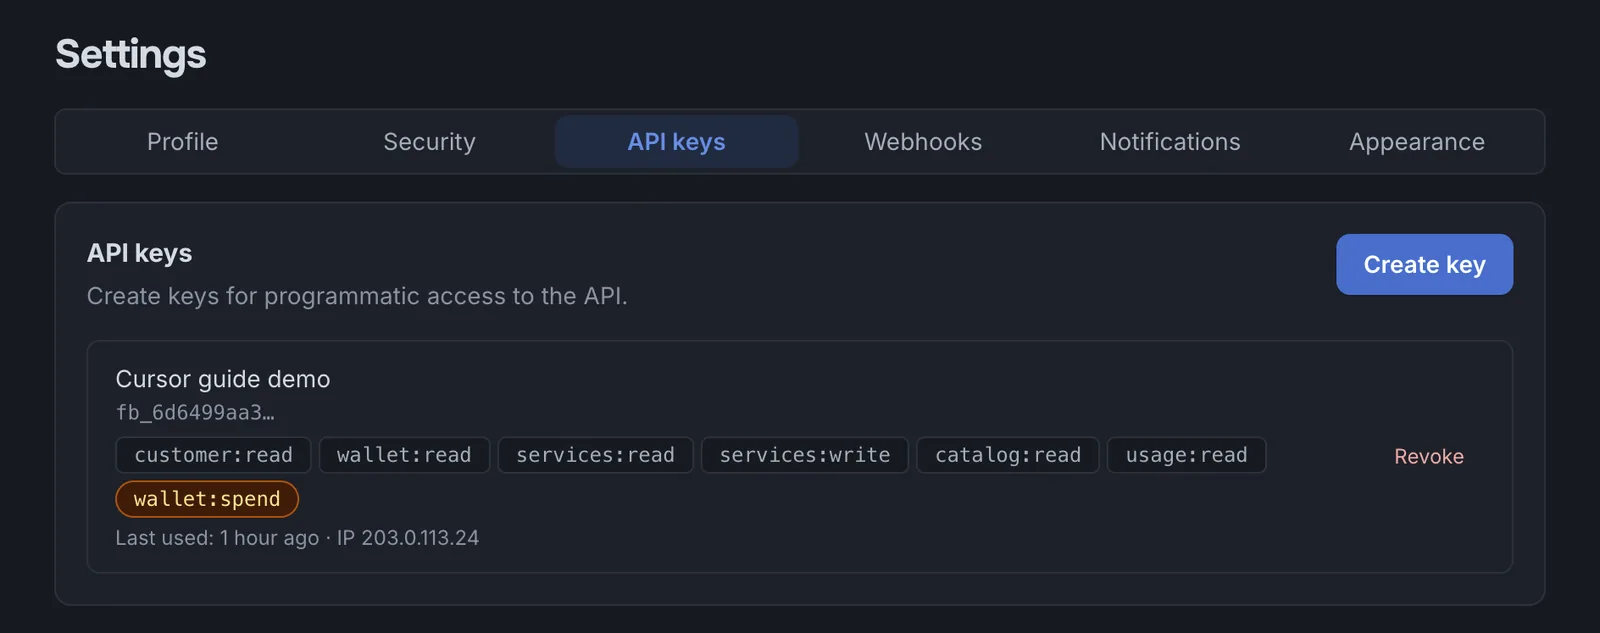
Open in DashboardAPI keys give scripts and AI agents access to your account. Click Create key, name the key, and select its scopes: each scope allows one group of operations, such as reading services or paying from your balance. The key is shown only once, so copy it right away.
The key list shows each key’s scopes and when it was last used. Revoke disables a key immediately. We recommend a separate key for each integration. The scopes are described in the developer guide.
Webhooks
Webhooks send HTTPS callbacks to your server when billing events happen. Click Add endpoint, enter the URL, and choose the events. The signing secret is shown once. For each endpoint, you can view the delivery history, send a test event, and redeliver an event after fixing your handler. How to verify the signature is described in the API reference.
Email notifications
Choose which emails you get: low balance, successful payment, failed payment, upcoming service expiration, support replies, and news and offers.
Appearance
Light, dark, or system theme, and the interface language. The theme and language switchers in the header do the same.
Verification
Open in DashboardProxies work without verification. It’s required only to pay by card and to resolve disputed payments. The check is a short liveness selfie, with no documents. Click Start verification and allow camera access when your browser asks.
MCP server and API docs
- MCP server shows the server URL and ready-to-paste configurations, for example for Cursor and Claude Code. It works with any AI agent that supports MCP. Connect it with an API key, and your agent can calculate quotes, buy proxies, and manage them and your account on your behalf.
- API docs is the complete API documentation: every endpoint with its parameters and responses, code examples in Shell, Python, Node.js, PHP, and Ruby, and a downloadable OpenAPI document.
For examples, scopes, and spending safeguards, see API and MCP for developers and the API reference.
Last updated: November 9, 2026.